
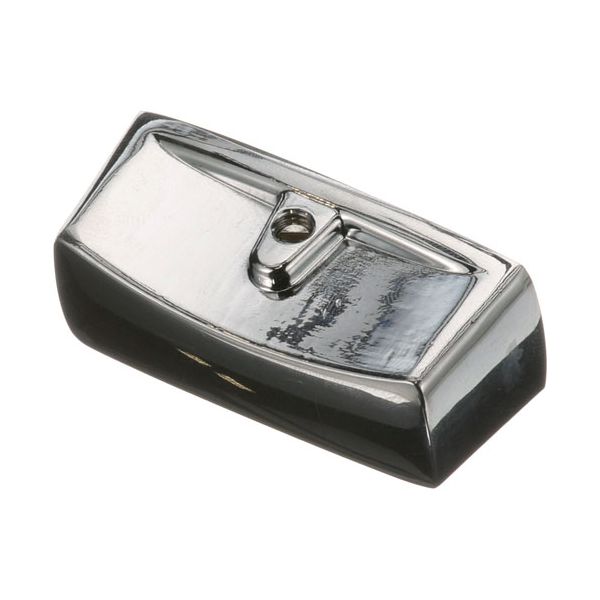
Hobart 413157-00001 Valve Knob 2-1/8" D

$11.92
In stock
SKU
413157-00001
Oven Parts, Oven Knobs,
Manufacturer:
The Hobart 413157-00001 Valve Knob 2-1/8" D is a replacement control part that is used to control the flow settings in compatible equipment. It enables operators to control certain functions by rotating the dial to the necessary mode in normal operation. It is widely used in commercial kitchens to provide control of foodservice appliances that are controlled manually by adjusting valves. This can be seen on the control panel or the valve assembly, and it is a direct interface to control the operational settings of the equipment.

Dimensions

  • Length: 0.822 In
  • Width: 0.364 In
  • Height: 0.346 In
  • Weight: 0.194 lbs
https://partsfe.com/media/catalog/product/h/o/hobart-413157-00001-valve-knob-2-1-8-d-76344-2.jpg

Product Notes

  • Chrome [ 2-1/8" Dia ] [ Mount .240"]
  • Set Screw Is Included, Rectangle
  • Anets Grill Where Applicable
  • Broiler Where Applicable
  • Cecilware Broiler Bc (After 2/87), Ccb (After 2/87),
  • Hdb(2031,2042), Hdc39.
  • Garland Broiler 76-40, 76-50R, 78-40, 78-50R, Bc-66, Ir-67.
  • Grill Gv283.
  • Range 60-40R, 60-50R. Series: 40/50, G30A, G280 (Except
  • G280-2), Gv280.
Write Your Own Review
You're reviewing:Hobart 413157-00001 Valve Knob 2-1/8" D
Your Rating
Customer Questions
What maintenance is required for the Hobart 413157-00001 Valve Knob?

Inspect the valve knob regularly for cracks, looseness, or stripped mounting points. Clean grease and debris buildup to ensure smooth turning. Tighten securely to the valve stem and replace if the grip becomes worn to maintain better and accurate control.

What are common issues with the Hobart 413157-00001 Valve Knob?

  • Cracking or breakage of plastic knob body.
  • Loose fit causing slipping on valve stem.
  • Difficulty turning due to grease buildup.
  • Worn grip reducing control accuracy.

We strive to provide our customers with a hassle-free and efficient shopping experience. Our shipping policy ensures the timely delivery of your orders and complete customer satisfaction. View More

We are committed to ensuring your complete satisfaction with every purchase. We understand that circumstances may arise where you must return a product or request a refund. If for any reason you are not satisfied, you may return the item(s) according to the terms outlined below. View More

This Payment Policy outlines the terms and conditions governing all payments made for products purchased through our website. By making a purchase, you agree to be bound by this Payment Policy. View More

Installation Steps

Step1: Turn off equipment power and ensure valve is in the closed position.

Step2: Remove the old knob by pulling it straight off the valve stem.

Step3: Clean the valve stem to remove grease or debris for proper fit.

Step4: Align the new knob with the drive and press firmly into place.

Step5: Confirm secure seating and smooth turning without slipping.

Step6: Restore power and test valve operation to ensure proper control operation.
