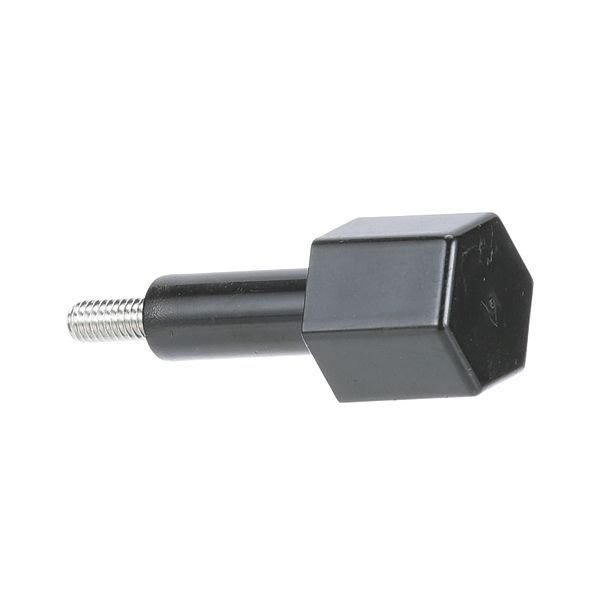
Hoshizaki 434168G02 Icemaker Thumb Screw

Special Price $15.79 Regular Price $15.95
In stock
SKU
434168G02
The Hoshizaki 434168G02 Icemaker Thumb Screw is a mechanical screw intended to be used in commercial appliances and other foodservice systems. It is a thumb screw that provides an easy and safe way of attaching panels, covers or parts without using any tools so that it can be easily adjusted by hand during normal maintenance or assembly. It is mounted on the access panels or components that need frequent removal while keeping the elements in place during normal operation and still being serviceable.

Dimensions

  • Length: 1.75 In
  • Width: 0.625 In
  • Height: 0.625 In
  • Weight: 0.016 lbs
https://partsfe.com/media/catalog/product/h/o/hoshizaki-434168g02-black-thumb-screw-36119-2.jpg

Product Notes

  • Black Thumb Screw
  • Hoshizaki 900-Sd, 900Sf, B-250Pd, B-250Pf,
  • B-300Pd, B-300Pf,
  • B-300Sd, B-300Sf, B-500Pd, B-500Pf, B-500Sd, B-500Sf,
  • B-700Pd, B-700Pf, B-700Sd, B-700Sf, B-800Pd, B-800Pf,
  • B-800Sd, B-800Sf, B-900Pf, B-900Sd, B-900Sf, Cf1A-Fs,
  • Cr1A-Fs
HOSHIZAKI:
434168-G01, 434168G01, 434168G02, HOS434168G01, HOS434168G02
Write Your Own Review
You're reviewing:Hoshizaki 434168G02 Icemaker Thumb Screw
Your Rating
Customer Questions
What maintenance is required for the Hoshizaki 434168G02 Thumb Screw?

Inspect the thumb screw regularly for damage, stripped threads, or looseness. Keep threads clean and lightly lubricated to ensure smooth tightening. Avoid over-tightening to prevent damage. Proper maintenance ensures secure fastening and easy manual operation during routine equipment adjustments.

What are common issues with the Hoshizaki 434168G02 Thumb Screw?

  • Stripped or worn threads affecting grip.
  • Loosening during operation or vibration.
  • Cracking or damage to the thumb head.
  • Difficulty tightening or loosening.
  • Misalignment when fastening.
  • Reduced holding strength.

We strive to provide our customers with a hassle-free and efficient shopping experience. Our shipping policy ensures the timely delivery of your orders and complete customer satisfaction. View More

We are committed to ensuring your complete satisfaction with every purchase. We understand that circumstances may arise where you must return a product or request a refund. If for any reason you are not satisfied, you may return the item(s) according to the terms outlined below. View More

This Payment Policy outlines the terms and conditions governing all payments made for products purchased through our website. By making a purchase, you agree to be bound by this Payment Policy. View More

Installation Steps

Step1: Turn off and unplug equipment before starting and ensure machine is cool.

Step2: Align screw with designated mounting hole on panel or assembly surface.

Step3: Hand-thread the thumb screw clockwise until snug and seated.

Step4: Tighten by hand only avoid over-tightening to prevent stripping threads.

Step5: Ensure component is secure and properly seated and verify alignment and stability.

Step6: Restore power and test stability before returning to operation.