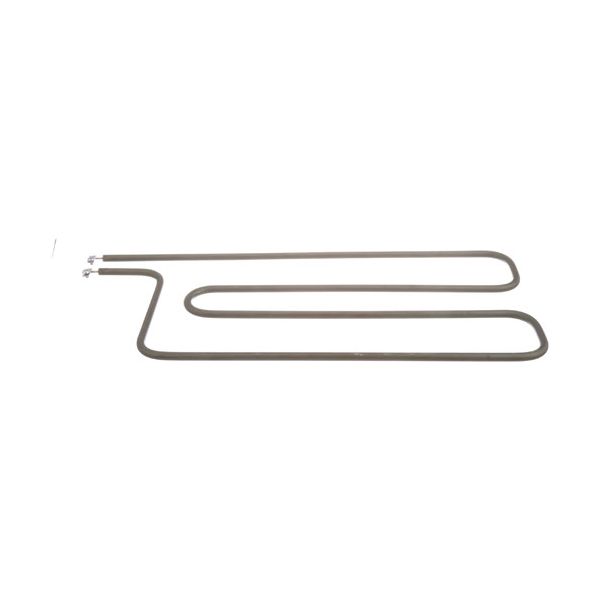
Wells 500166 Warmer Element W/ 8-32 X 1/4"Screw 208V 1650W

Special Price $56.49 Regular Price $90.37
In stock
SKU
500166
The Wells 500166 Warmer Element is a heating component designed for use in food warmers.manufactured by Wells, specifically for models SS206, SS276, SMP, and TMP.It measures 8-1/2” x 17-1/2” and includes two 8-32 x 1/4” screws to fit the unit securely. This effective ingredient optimally heats food, which is a big plus for making a meal remain at the required temperature for a longer time, and that ultimately leads to improved hygiene standards and food quality.

Dimensions

  • Length: 17.5 In
  • Width: 7.5 In
  • Height: 0.5 In
  • Weight: 0.9 lbs
https://partsfe.com/media/catalog/product/w/e/wells-500166-warmer-element-w-8-32-x-1-4-screw-208v-1650w-55552-2.jpg

Product Notes

  • 208V 1650W, 8-1/2" X 17-1/2",
  • W/ Screw 8-32 X 1/4", Qty 2 Part # 26-2899
  • Wells Food Warmer Ss206, Ss276, Smp, Tmp
Write Your Own Review
You're reviewing:Wells 500166 Warmer Element W/ 8-32 X 1/4"Screw 208V 1650W
Your Rating
Customer Questions
What is the Best Electric Griddle?

Electric Griddle is an electronic equipment that uses an electric element as its heat source. It has a large cooking surface often made up of nonstick material. Electric Griddle has a surface which you do not find in the regular stovetop cookware. ...

What maintenance is required for the Wells 500166 Element?

Inspect the warmer heating element regularly for signs of damage, warping, or electrical damage. Keep the surface clean and free of food residue or grease buildup to ensure even heat transfer. Check mounting screws for tightness and ensure stable. Replace if heating becomes uneven or inefficient.

What are common issues with the Wells 500166 Element?

  • Uneven heating or hot spots affecting warming performance.
  • Warmer element burnout due to longer high-temperature operation.
  • Loose or corroded screw connections causing power interruptions.
  • Cracking or deformation from thermal pressure over time.

We strive to provide our customers with a hassle-free and efficient shopping experience. Our shipping policy ensures the timely delivery of your orders and complete customer satisfaction. View More

We are committed to ensuring your complete satisfaction with every purchase. We understand that circumstances may arise where you must return a product or request a refund. If for any reason you are not satisfied, you may return the item(s) according to the terms outlined below. View More

This Payment Policy outlines the terms and conditions governing all payments made for products purchased through our website. By making a purchase, you agree to be bound by this Payment Policy. View More

Installation Steps

Step1: Disconnect power supply and verify the unit is completely cool before starting.

Step2: Remove the old element by loosening mounting screws and noting wire connections.

Step3: Position the new warmer element and secure it using the screw.

Step4: Reconnect electrical leads to the correct terminals and tighten firmly.

Step5: Ensure proper grounding and confirm no exposed wiring remains.

Step6: Restore power and test heating operates for stable and even temperature performance.