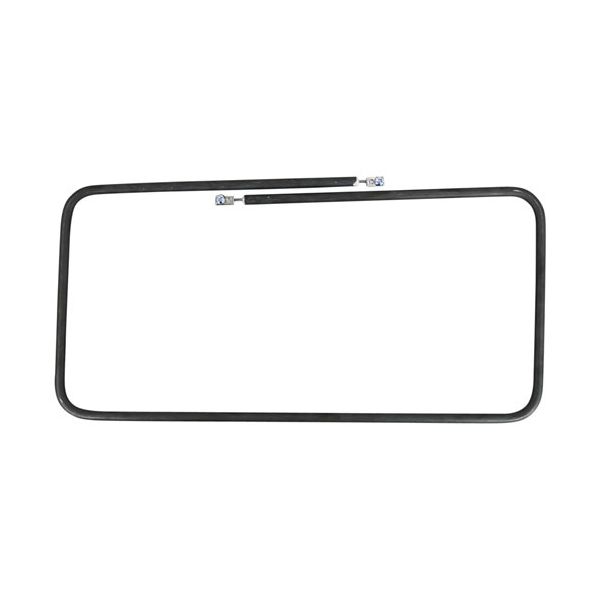
Wells 60409 Warmer Element 240V 1650W

Special Price $56.48 Regular Price $85.83
In stock
SKU
60409
The Wells 60409 Warmer Element is a 240V, 1650W heating element for food warmers models SS206, SS276, SMP, TMP, and SS 100-500 with thermostat controls. Measuring 7-1/2” x 15-1/2”, this durable element helps to keep food warm to the right serving temperatures. It has two screws 8-32 x 1/4” for installation purposes. Especially suitable for kitchens, it contributes to the optimization of the service time, the ability to hold the hot food for a longer period, and save energy at the same time, while maintaining the quality and safety of the food.

Dimensions

  • Length: 15.5 In
  • Width: 8 In
  • Height: 1 In
  • Weight: 0.8 lbs
https://partsfe.com/media/catalog/product/w/e/wells-60409-warmer-element-240v-1650w-67140-2.jpg

Product Notes

  • 240V 1650W, 7-1/2" X 15-1/2",
  • Includes Screws 8-32 X 1/4", Qty 2 Part # 26-2899
  • Wells Food Warmer Ss206, Ss276, Smp, Tmp,
  • Mod/Ss 100-500 (W/Thermostat Controls)
BLOOMFIELD:
Write Your Own Review
You're reviewing:Wells 60409 Warmer Element 240V 1650W
Your Rating
Customer Questions
What is the Best Electric Griddle?

Electric Griddle is an electronic equipment that uses an electric element as its heat source. It has a large cooking surface often made up of nonstick material. Electric Griddle has a surface which you do not find in the regular stovetop cookware. ...

What maintenance is required for the Wells 60409 Element?

Inspect the warmer heating element regularly for discoloration, scaling, or uneven heating. Clean the surface carefully to remove food residue buildup. Ensure electrical connections are tight and free from corrosion. Proper care maintains consistent temperature performance and reduces failure risk.

What are common issues with the Wells 60409 Element?

  • Warmer burnout or open circuit failure from overheating.
  • Uneven heating across the warmer surface.
  • Electrical terminal loosening or connection arcing.
  • Scaling or buildup reducing heat transfer efficiency.
  • Hot spots causing inconsistent temperature regulation.

We strive to provide our customers with a hassle-free and efficient shopping experience. Our shipping policy ensures the timely delivery of your orders and complete customer satisfaction. View More

We are committed to ensuring your complete satisfaction with every purchase. We understand that circumstances may arise where you must return a product or request a refund. If for any reason you are not satisfied, you may return the item(s) according to the terms outlined below. View More

This Payment Policy outlines the terms and conditions governing all payments made for products purchased through our website. By making a purchase, you agree to be bound by this Payment Policy. View More

Installation Steps

Step1: Turn off main power and confirm the warmer is completely cool and isolated.

Step2: Remove the defective element by loosening screws and disconnecting wires.

Step3: Fit the new element into the heating assembly and align mounting points properly.

Step4: Reattach electrical terminals to the correct leads and tighten securely.

Step5: Ensure grounding is intact and no wiring is exposed or pinched.

Step6: Restore power and run a test cycle to confirm steady heating and correct operation.