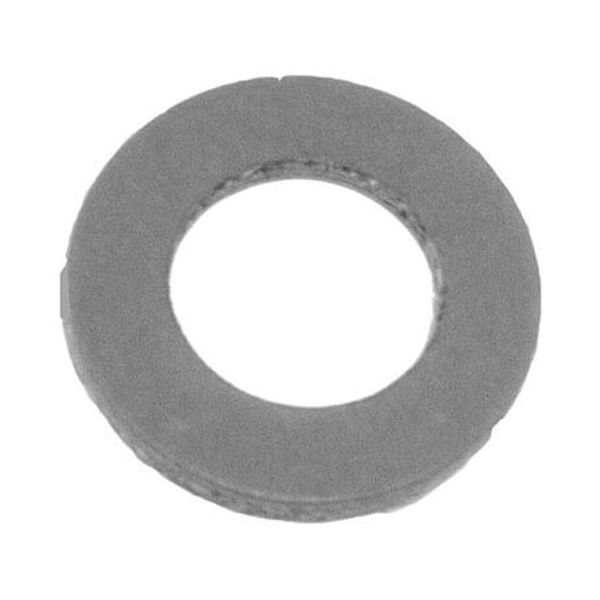
Intedge 721 Fibre Washer Size 12

$1.44
In stock
SKU
721
The Intedge 721 Fibre Washer 12" is a sealing element that is used to provide a tight fit between parts, in compatible plumbing or equipment assemblies. It is compressing under load to aid in preventing leakage and stabilizing connections when in operation. The washer is installed between fittings or threaded parts and it spreads the pressure uniformly to cushion surfaces and ensure uniform sealing operation. In a commercial kitchen and service operation, it is used in a practical application to sustain fluid integrity and equipment to assist interconnected systems to work correctly in routine operations.

Dimensions

  • Length: 1.4 In
  • Width: 1.4 In
  • Height: 0.2 In
  • Weight: 0.1 lbs
https://partsfe.com/media/catalog/product/i/n/intedge-721-fibre-washer-size-12-66167-2.jpg

Product Notes

  • Fiber Washer For Worm, 1-5/16" Od X 3/4" Id X .125 Thick,
  • For Size #12 Hub.
BLAKESLEE:
INTEDGE:
MIDDLEBY MARSHALL:
Write Your Own Review
You're reviewing:Intedge 721 Fibre Washer Size 12
Your Rating
Customer Questions
What maintenance is required for the Intedge 721 Washer?

Inspect the washer regularly for wear, compression damage, or hardening that can affect sealing performance. Replace it if any deformation is found. Keep mating surfaces clean and free of debris to ensure proper sealing and prevent leakage.

What are common issues with the Intedge 721 Washer?

  • Compression wear leading to poor sealing.
  • Cracking or splitting under pressure.
  • Hardening over time from heat exposure.
  • Leakage due to improper seating.
  • Deformation from over-tightening.

We strive to provide our customers with a hassle-free and efficient shopping experience. Our shipping policy ensures the timely delivery of your orders and complete customer satisfaction. View More

We are committed to ensuring your complete satisfaction with every purchase. We understand that circumstances may arise where you must return a product or request a refund. If for any reason you are not satisfied, you may return the item(s) according to the terms outlined below. View More

This Payment Policy outlines the terms and conditions governing all payments made for products purchased through our website. By making a purchase, you agree to be bound by this Payment Policy. View More

Installation Steps

Step1: Turn off and unplug the equipment before servicing.

Step2: Disassemble the hub or worm assembly to access the worn washer.

Step3: Remove the old washer and clean the mounting surface.

Step4: Position the new washer onto the shaft or hub location.

Step5: Reassemble the worm and related components in the correct order.

Step6: Tighten hardware securely without over-compressing the washer.

Step7: Test the unit briefly to ensure smooth operation and proper sealing.