
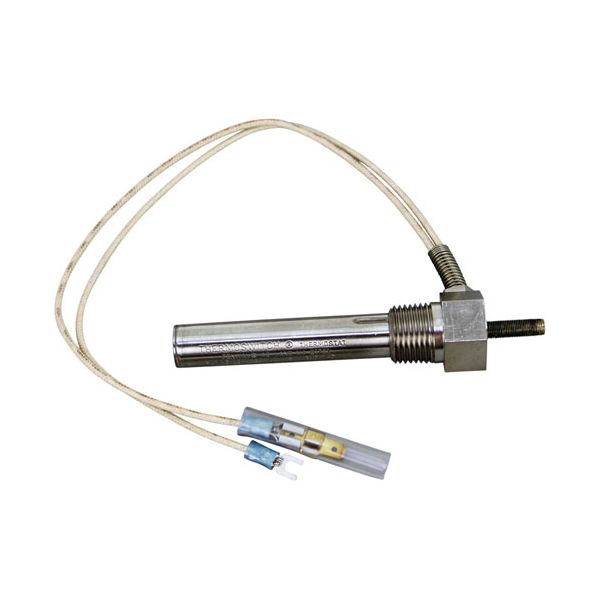
Frymaster 806-7972 Thermostat Fenwal

Special Price $196.42 Regular Price $416.15
In stock
SKU
806-7972
Manufacturer:

The Frymaster 806-7972 Thermostat operates on the concept of detecting the change in temperature and opening or closing of electrical contacts depending on predetermined limits. It reacts to the temperature in the system to control the cooking periods. The thermostat can be mounted in any of the compatible fryers, typically in the control or sensor section of the fry pot. It is linked to temperature sensors and control wiring to control the system's reaction. The component assists in temperature control needed in the operation of a standard fryer in commercial foodservice equipment.

Dimensions

  • Length: 5 In
  • Width: 1 In
  • Height: 5 In
  • Weight: 0.32 lbs
https://partsfe.com/media/catalog/product/f/r/frymaster-806-7972-thermostat-fenwal-87758-2.jpg

Product Notes

  • Fenwall T'Stat W/ Wire Leads, 1/4" Male Qc W/ Insulator
  • And 1/4" Female Spade Terminals, Temp 75-550, 1/2" Mpt
  • Probe = 3-3/4"
  • 2" Dia. Round Dial A2252, K-177, # 22-1185
  • Anets Fryer D1-11-17, D1-11-22, E-11-17, E-11-22.
  • Series: Di (Drop-In For Jack-In-The-Box).
  • Frymaster Fryer J1C, J2X, J3Ssp, Mj15, Mj35, Mj55 Mj56,
  • Mj235. Series: Fm35
  • Garland Fryer 35-40/50, 35-280, 35-G280Sp, 70-40/50, M35Ss,
  • M70Ss
  • Montague J2Xlrsp, R2F2, Mj35
HENNY PENNY:
MONTAGUE:
Write Your Own Review
You're reviewing:Frymaster 806-7972 Thermostat Fenwal
Your Rating
Customer Questions
What maintenance is required for the Frymaster 806-7972 Fenwal Thermostat?

Regularly check the thermostat for accurate temperature readings and secure wiring connections. Keep the unit free from grease buildup and debris. Inspect for wear or damage. Always disconnect power before servicing to ensure safe handling.

What are common issues with the Frymaster 806-7972 Fenwal Thermostat?

  • Inaccurate temperature control or fluctuations.
  • Failure to maintain set temperature.
  • Electrical connection faults or loose wiring.
  • Thermostat not responding or cycling properly.
  • Sensor malfunction causing overheating or underheating.

We strive to provide our customers with a hassle-free and efficient shopping experience. Our shipping policy ensures the timely delivery of your orders and complete customer satisfaction. View More

We are committed to ensuring your complete satisfaction with every purchase. We understand that circumstances may arise where you must return a product or request a refund. If for any reason you are not satisfied, you may return the item(s) according to the terms outlined below. View More

This Payment Policy outlines the terms and conditions governing all payments made for products purchased through our website. By making a purchase, you agree to be bound by this Payment Policy. View More

Installation Steps

Step1: Disconnect main electrical power supply and ensure appliance is cool; wear gloves.

Step2: Remove access panel and locate old thermostat assembly safely.

Step3: Label and disconnect wiring from old thermostat carefully.

Step4: Unscrew and remove faulty thermostat.

Step5: Install new thermostat securely in same position.

Step6: Reconnect wiring per original labels and check tightness.

Step7: Reassemble panel, restore power, and test temperature control; verify operation.