
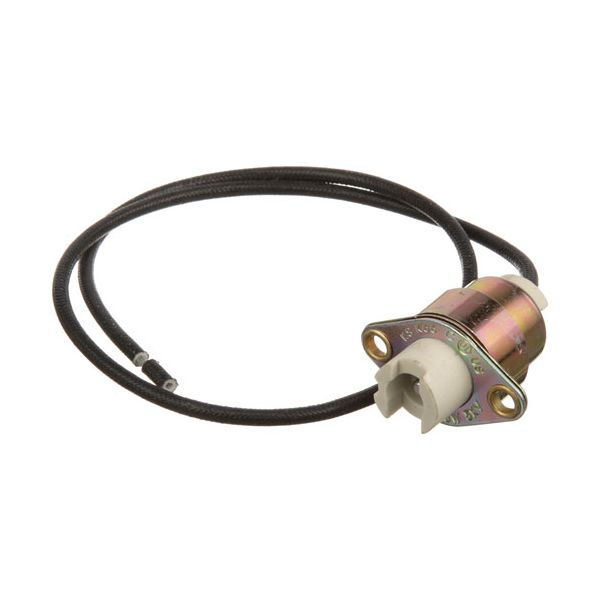
Frymaster 8071415 Element Socket Snap-In Black W/16" Wire Lead #14

Special Price $15.75 Regular Price $20.46
In stock
SKU
8071415
Manufacturer:

The Frymaster 8071415 Element Socket Snap-In with 16" Wire Lead #14 is an electrical connector, that holds heating elements in commercial equipment. The socket has a firm and snap-in connection point on which the terminals of the element are connected, and the attached wire lead allows the transfer of electrical power between the control system and the heating component. It is mounted on the inside mounting panel of the appliance so that the element and wiring are aligned with the power distribution network.

Dimensions

  • Length: 4 In
  • Width: 3.5 In
  • Height: 1 In
  • Weight: 0.05 lbs
https://partsfe.com/media/catalog/product/f/r/frymaster-8071415-snap-in-element-socket-w-16-14-black-wire-lead-50956-2.jpg

Product Notes

  • Element Socket For Snap-In Elements.
  • Includes 7/8" Id X 1" Od Collar For 1" Panel Mount Hole.
  • 16" #14 Black Wire Lead.
  • Collar Is Not Removable.
  • Merco Bw-24, Bw-36, Bw-48, Bw-60, Bw-72, Bwi-24, Bwi-36,
  • Bwi-48, Bwi-60, Bwi-72, Fw And Nw Series
FRYMASTER:
LINCOLN:
Write Your Own Review
You're reviewing:Frymaster 8071415 Element Socket Snap-In Black W/16" Wire Lead #14
Your Rating
Customer Questions
What maintenance is required for the Frymaster 8071415 Snap-In Element Socket?

Inspect the socket and wiring connections regularly to ensure secure attachment and proper conductivity. Clean any grease or carbon buildup around the element seating area. Replace worn or loose components promptly to prevent heating inconsistencies and electrical faults.

What are common issues with the Frymaster 8071415 Snap-In Element Socket?

  • Loose snap-in fit causing intermittent heating or loss of power.
  • Wiring lead insulation wear leading to short circuits or electrical faults.
  • Poor contact at socket resulting in uneven heat distribution or failure.

We strive to provide our customers with a hassle-free and efficient shopping experience. Our shipping policy ensures the timely delivery of your orders and complete customer satisfaction. View More

We are committed to ensuring your complete satisfaction with every purchase. We understand that circumstances may arise where you must return a product or request a refund. If for any reason you are not satisfied, you may return the item(s) according to the terms outlined below. View More

This Payment Policy outlines the terms and conditions governing all payments made for products purchased through our website. By making a purchase, you agree to be bound by this Payment Policy. View More

Installation Steps

Step1: Turn off and disconnect the fryer from the power source.

Step2: Remove the existing element socket carefully if replacing.

Step3: Align the new socket with the element mounting position.

Step4: Snap the socket securely into place.

Step5: Connect the black wire lead to the corresponding terminal.

Step6: Ensure all connections are tight and properly insulated.

Step7: Restore power and test the element for proper operation.