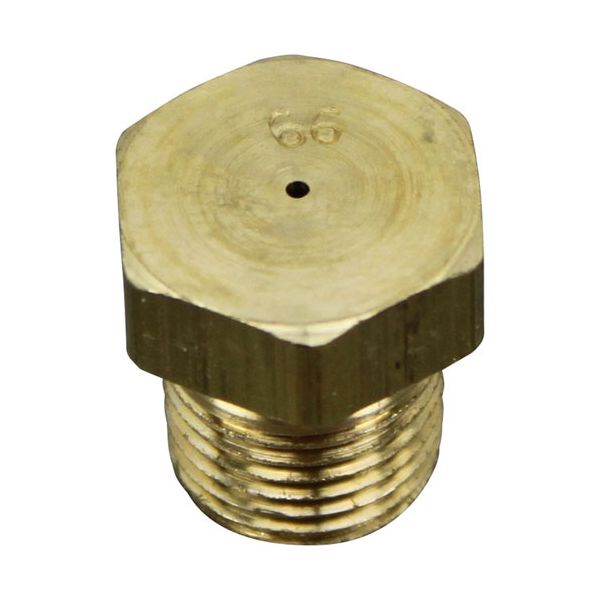
Frymaster 826-1387 Fryer Liquid Propane Burner Orifice 66

$3.16
In stock
SKU
826-1387
The Frymaster 826-1387 Fryer Liquid Propane Burner Orifice 66 operates based on the flow of the liquid gas through a hole before it enters. The orifice is small and, therefore, shapes the gas stream to enable it to mix well with incoming air to ignite. This is an opening at the end tube within the gas system. The size is connected with certain models. It is directed through the opening and into the burner to be lit. During service or conversion work replacement is carried out.

Dimensions

  • Length: 0.5 In
  • Width: 0.5 In
  • Height: 0.5 In
  • Weight: 0.02 lbs
https://partsfe.com/media/catalog/product/f/r/frymaster-826-1387-burner-orifice-lp-66-49655-2.jpg

Product Notes

  • Brass Burner Orifice, #66, Lp, 13/32"-27 Thread
  • 0.86Mm, #66 Hole.
  • Frymaster Fryer Gf40, Mj45E, Mjcfe With Computer Magic.
Write Your Own Review
You're reviewing:Frymaster 826-1387 Fryer Liquid Propane Burner Orifice 66
Your Rating
Customer Questions
What is the Best Electric Griddle?

Electric Griddle is an electronic equipment that uses an electric element as its heat source. It has a large cooking surface often made up of nonstick material. Electric Griddle has a surface which you do not find in the regular stovetop cookware. ...

What maintenance is required for the Frymaster 826-1387 Burner Orifice?

Inspect the orifice for blockages or debris regularly. Clean carefully using proper tools. Ensure proper alignment with the burner. Avoid enlarging the opening during cleaning to maintain correct gas flow.

What are common issues with the Frymaster 826-1387 Burner Orifice?

  • Clogging restricts gas flow.
  • Improper flame due to partial blockage.
  • Misalignment affecting burner performance.
  • Wear enlarging the orifice opening.
  • Inconsistent gas distribution.

We strive to provide our customers with a hassle-free and efficient shopping experience. Our shipping policy ensures the timely delivery of your orders and complete customer satisfaction. View More

We are committed to ensuring your complete satisfaction with every purchase. We understand that circumstances may arise where you must return a product or request a refund. If for any reason you are not satisfied, you may return the item(s) according to the terms outlined below. View More

This Payment Policy outlines the terms and conditions governing all payments made for products purchased through our website. By making a purchase, you agree to be bound by this Payment Policy. View More

Installation Steps

Step1: Turn off the gas supply and disconnect the appliance from the power.

Step2: Allow the unit to cool completely before servicing.

Step3: Access the burner assembly and remove the old orifice.

Step4: Thread the new orifice into place and tighten securely.

Step5: Reassemble components and ensure proper alignment.

Step6: Restore gas and check for leaks before operation.