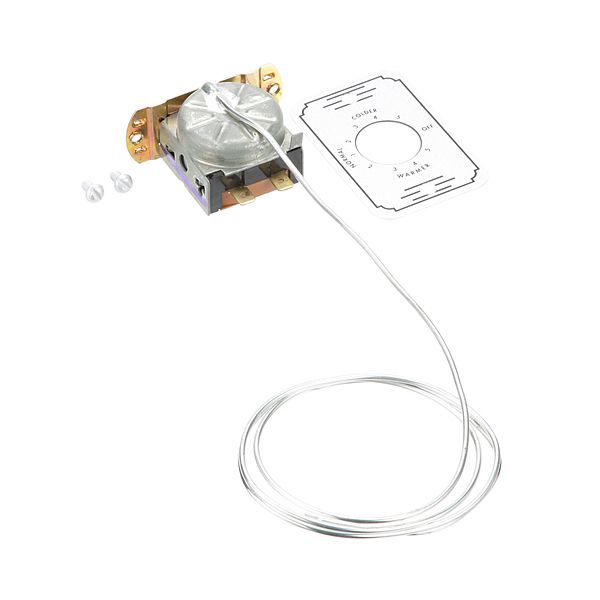
Ranco 9531N346 Temperature Control

Special Price $173.53 Regular Price $267.39
In stock
SKU
9531N346
The Ranco 9531N346 Temperature Control detects the temperature by an internal sensing element and activates or deactivates the control circuit when conditions go above or below preset thresholds. When the temperature being monitored increases or decreases, it closes or opens contacts to either heat or cool, depending on the mounting in the control area of the equipment, and the sensing element where the precise temperature measurement is needed. This control will be used to replace the unit in case it does not react to the change in temperature during normal operation.

Dimensions

  • Length: 5 In
  • Width: 3.5 In
  • Height: 1.5 In
  • Weight: 0.2 lbs
https://partsfe.com/media/catalog/product/r/a/ranco-9531n346-temperature-control-18810-2.jpg

Product Notes

  • Temp Control. 20 - 42F
  • Cut In 39F, Cut Out 26F
  • Cap 37"
  • `Silver King
PRINCE CASTLE:
SILVER KING:
42929, SVK42929
Write Your Own Review
You're reviewing:Ranco 9531N346 Temperature Control
Your Rating
Customer Questions
What maintenance is required for the Ranco 9531N346 Temperature Control?

Regularly inspect the capillary tube and sensing bulb for kinks, leaks, or damage to ensure accurate temperature sensing. Keep electrical connections tight and free from corrosion. Proper maintenance ensures stable refrigeration control, prevents cycling issues, and supports consistent system performance.

What are common issues with the Ranco 9531N346 Temperature Control?

  • Inaccurate temperature regulation or drifting setpoints.
  • Compressor short cycling or continuous running.
  • Faulty or unresponsive control switch.
  • Damaged capillary tube affecting sensing accuracy.
  • Electrical contact damage leading to intermittent operation.

We strive to provide our customers with a hassle-free and efficient shopping experience. Our shipping policy ensures the timely delivery of your orders and complete customer satisfaction. View More

We are committed to ensuring your complete satisfaction with every purchase. We understand that circumstances may arise where you must return a product or request a refund. If for any reason you are not satisfied, you may return the item(s) according to the terms outlined below. View More

This Payment Policy outlines the terms and conditions governing all payments made for products purchased through our website. By making a purchase, you agree to be bound by this Payment Policy. View More

Installation Steps

Step1: Disconnect power supply and ensure equipment is fully cooled.

Step2: Remove existing control, labeling wires and noting capillary routing.

Step3: Mount new control securely in the original bracket or panel.

Step4: Position capillary tube without kinks or sharp bends.

Step5: Reconnect wiring to correct terminals as per diagram.

Step6: Restore power and test temperature cycling.

Step7: Damage insulated gloves and avoid damaging the sensing bulb.