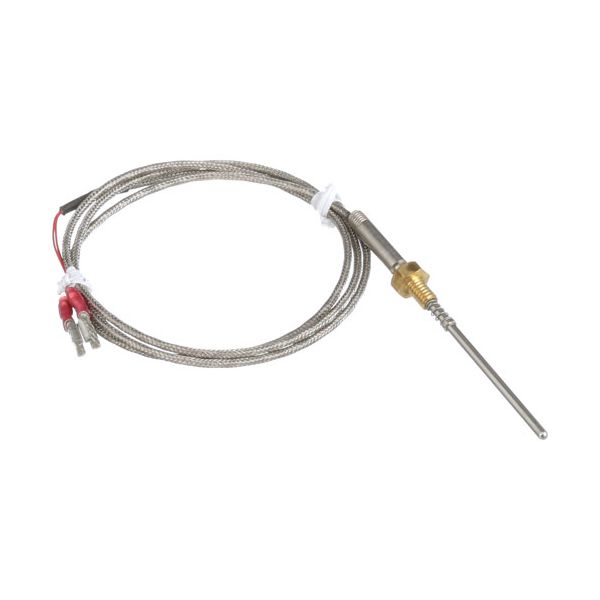
Accutemp AT0E-2885-3 Temp Sensor with 40" Lead 2 Female Disconnects 200°F-400°F

Special Price $137.07 Regular Price $192.95
In stock
SKU
AT0E-2885-3
The Accutemp AT0E-2885-3 Temperature Sensor is designed to monitor between 200°F and 400°F, with precision, and reliability. This sensor features a 40-inch lead and two female disconnects which provide both convenient installation and flexible use. The AT0E-2885-3 Temperature Sensor works better in situations where precise temperature measurement is essential including industrial manufacturing operations and equipment maintenance operations. A robust design structure enables extended operational durability as well as an extensive temperature range ability for diverse environmental settings. This sensor provides dependable performance along with easy integration capabilities to serve multiple industrial applications.

Dimensions

  • Length: 5.125 In
  • Width: 5.125 In
  • Height: 0.5 In
  • Weight: 0.084 lbs
https://partsfe.com/media/catalog/product/a/c/accutemp-at0e-2885-3-temp-sensor-with-40-lead-2-female-disconnects-200-f-400-f-85174-2.jpg

Product Notes

  • Sensor, Temperature, 200-400°F~
  • 40" Lead W/2 Female
  • Disconnects, 1/8" Dia Probe, 2-7/8" Long.
  • Fits Accutemp Models~
  • Eg Series, Egf Series, Egf Series, Egf2083A48, Ggf1201A36
ACCUTEMP:
Write Your Own Review
You're reviewing:Accutemp AT0E-2885-3 Temp Sensor with 40" Lead 2 Female Disconnects 200°F-400°F
Your Rating
Customer Questions
What maintenance is required for the Accutemp AT0E-2885-3 Temperature Sensor?

Inspect the temperature sensor regularly for corrosion, loose female disconnects, and damaged lead insulation. Ensure the probe is clean and properly secured in its mounting location for accurate readings. Verify wiring connections are tight to prevent signal loss or erratic temperature control. Avoid bending or pressing the lead to maintain sensor accuracy.

What are common issues with the Accutemp AT0E-2885-3 Temperature Sensor?

  • Inaccurate temperature readings from probe damage or buildup.
  • Loose female disconnects interrupting signal transmission.
  • Overheating or unstable temperature control during operation.
  • Damaged lead insulation causing intermittent sensor performance.
  • Failure to maintain proper cooking surface temperatures.

We strive to provide our customers with a hassle-free and efficient shopping experience. Our shipping policy ensures the timely delivery of your orders and complete customer satisfaction. View More

We are committed to ensuring your complete satisfaction with every purchase. We understand that circumstances may arise where you must return a product or request a refund. If for any reason you are not satisfied, you may return the item(s) according to the terms outlined below. View More

This Payment Policy outlines the terms and conditions governing all payments made for products purchased through our website. By making a purchase, you agree to be bound by this Payment Policy. View More

Installation Steps

Step1: Turn off power and allow the equipment to cool completely before servicing to avoid burns or electrical shock.

Step2: Remove the old temperature sensor from the probe mounting placed and disconnect the two female terminals.

Step3: Insert the new probe into the same sensing position, ensuring full depth contact for accurate readings.

Step4: Connect the lead wires to the control board using the two female disconnects securely.

Step5: Restore power, run a heat cycle, and check temperature readings stay stable within range.

Step6: Keep wiring away from hot surfaces to ensure long-term safety and accuracy.