

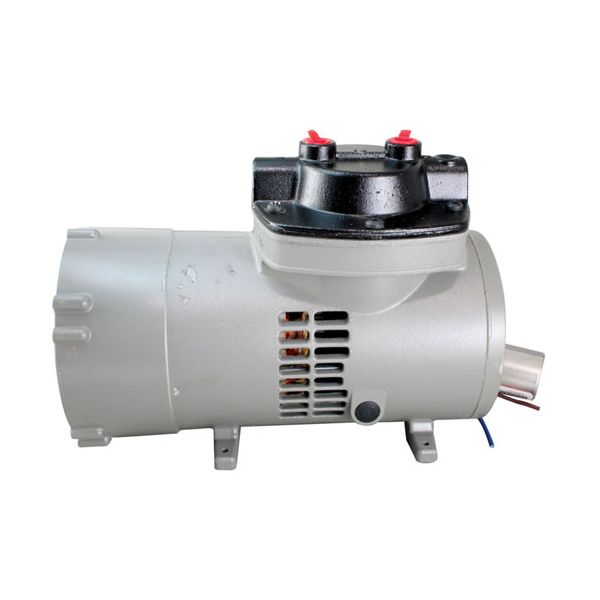
Accutemp AT1E-2703-1 Vacuum Pump Thomas 0.6A 208-240V 60Hz

$617.80
In stock
SKU
AT1E-2703-1
Manufacturer:

The Accutemp AT1E-2703-1 Vacuum Pump Thomas 208-240V 60Hz 0.6A collects air out of lines, creating low pressure via an internal motor-driven diaphragm system. It is electrically operated to oscillate components inside the pump and generates continuous airflow to remove the gases and supports to maintain a vacuum during the operation cycles. It contains inlet and outlet ports for controlling airflow in the system, ensuring a constant pressure across the assembly and board. Installed in commercial combi oven and cooker equipment, it is placed inside the internal service compartment where vacuum lines, and control lines connect to the pump for operation.

Dimensions

  • Length: 10 In
  • Width: 8.5 In
  • Height: 7 In
  • Weight: 12.8 lbs
https://partsfe.com/media/catalog/product/a/c/accutemp-at1e-2703-1-steamer-vacuum-pump-60hz-6amp-95134-2.jpg

Product Notes

  • Vacuum Pump, (Old Style)
  • Thomas, 208-240V, 60Hz, .6Amp
  • Accutemp Steamer S3, S6, S62083D120
ACCUTEMP:
ACCAT1E2703-1, AT1E-2703-1, AT1E2703-1
Write Your Own Review
You're reviewing:Accutemp AT1E-2703-1 Vacuum Pump Thomas 0.6A 208-240V 60Hz
Your Rating
Customer Questions
What maintenance is required for the Accutemp AT1E-2703-1 Vacuum Pump?

Inspect the vacuum pump regularly for oil contamination, vibration, and air leaks in connected hoses. Clean intake and exhaust ports to prevent blockages that reduce performance. Ensure electrical connections are secure and operate within rated voltage to avoid motor strain and overheating.

What are common issues with the Accutemp AT1E-2703-1 Vacuum Pump?

  • Vacuum pump failing to maintain proper pressure levels.
  • Excessive vibration or noise during operation.
  • Weak suction caused by worn diaphragm or internal valve issues.
  • Loose electrical connections interrupting pump performance.
  • Overheating from continuous operation or airflow restrictions.

We strive to provide our customers with a hassle-free and efficient shopping experience. Our shipping policy ensures the timely delivery of your orders and complete customer satisfaction. View More

We are committed to ensuring your complete satisfaction with every purchase. We understand that circumstances may arise where you must return a product or request a refund. If for any reason you are not satisfied, you may return the item(s) according to the terms outlined below. View More

This Payment Policy outlines the terms and conditions governing all payments made for products purchased through our website. By making a purchase, you agree to be bound by this Payment Policy. View More

Installation Steps

Step1: Disconnect power supply completely and confirm the steamer is cool and better to access.

Step2: Remove front panel and carefully label and disconnect all electrical wiring from the existing pump.

Step3: Unscrew mounting bolts and lift out the old vacuum pump from its base.

Step4: Place new pump in position, align correctly, and tighten mounting hardware securely.

Step5: Reconnect wiring as per original configuration and secure all terminals.

Step6: Restore power, run a test cycle, and check smooth vacuum operation without leaks or noise.