

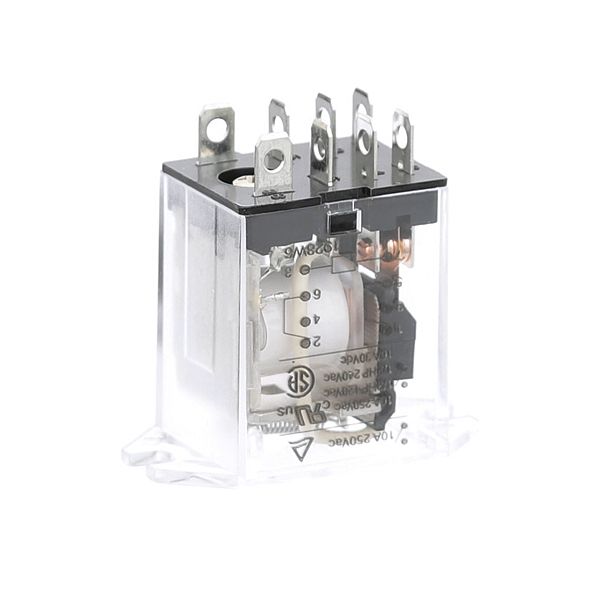
Accutemp ATOE-2825-5 General Purpose Relay 24 VAC

$20.16
In stock
SKU
ATOE-2825-5
Manufacturer:

The Accutemp ATOE-2825-5 Relay is used to regulate electrical circuits by opening or closing electrical contacts based on a signal of 24 VAC. It turns the current into appliances that are connected to it, which enables the automatic control of heating and cooling or other equipment. The relay is fitted in a control panel or electrical assembly and is connected to input and output terminals to enable the relay to be integrated in the circuit. Its small design allows it to be installed in small spaces.

Dimensions

  • Length: 1.6 In
  • Width: 1.45 In
  • Height: 0.85 In
  • Weight: 0.36 lbs
https://partsfe.com/media/catalog/product/a/c/accutemp-atoe-2825-5-general-purpose-24vac-relay-12536-2.jpg
Manufacturer Name: Accutemp
Product Number: ATOE-2825-5
OEM Part Number: ATOE-2825-5
Product Description: Relay,24Vac,Gen Purpose
Similar Models:AT0E28255 - Accutemp, AT0E-2825-5 - Accutemp
Dimensions:
Length:1.6in/4.06cm
Width:1.45in/3.68cm
Height:0.85in/2.16cm
Weight:0.36lbs/163.29g

Choose the best Commercial kitchen & Restaurant equipment parts and supplies from PartsFe!

  • Same Day Shipping

  • Best Quality And Best Price

  • Wide Range of Inventory

  • Best Customer Service

Have More Questions or Need Help to Place The Order?
Reach us at 866-863-0907 or contact@partsfe.com

Write Your Own Review
You're reviewing:Accutemp ATOE-2825-5 General Purpose Relay 24 VAC
Your Rating
Customer Questions
What maintenance is required for the Accutemp ATOE-2825-5 General Purpose Relay?

Inspect the relay regularly for secure terminal connections and signs of overheating or corrosion. Keep it clean and dry to avoid electrical faults. Verify proper coil operation during routine checks and replace worn contacts to maintain consistent switching performance and system accurately.

What are common issues with the Accutemp ATOE-2825-5 General Purpose Relay?

  • Relay coil failure or weak energizing response.
  • Contact pitting leading to intermittent switching.
  • Overheating from electrical overload.
  • Delayed or inconsistent activation under load.

We strive to provide our customers with a hassle-free and efficient shopping experience. Our shipping policy ensures the timely delivery of your orders and complete customer satisfaction. View More

We are committed to ensuring your complete satisfaction with every purchase. We understand that circumstances may arise where you must return a product or request a refund. If for any reason you are not satisfied, you may return the item(s) according to the terms outlined below. View More

This Payment Policy outlines the terms and conditions governing all payments made for products purchased through our website. By making a purchase, you agree to be bound by this Payment Policy. View More

Installation Steps

Step1: Turn off all electrical power to the equipment and check no voltage is present before servicing.

Step2: Remove the control panel cover to access the existing relay on the circuit board.

Step3: Disconnect the relay terminals, noting wire positions for correct reconnection.

Step4: Pull out the old relay and insert the new relay into the same socket or mounting position.

Step5: Reattach all wiring securely, ensuring tight and correct terminal placement.

Step6: Restore power, run a full equipment cycle, and confirm proper switching and control response.