
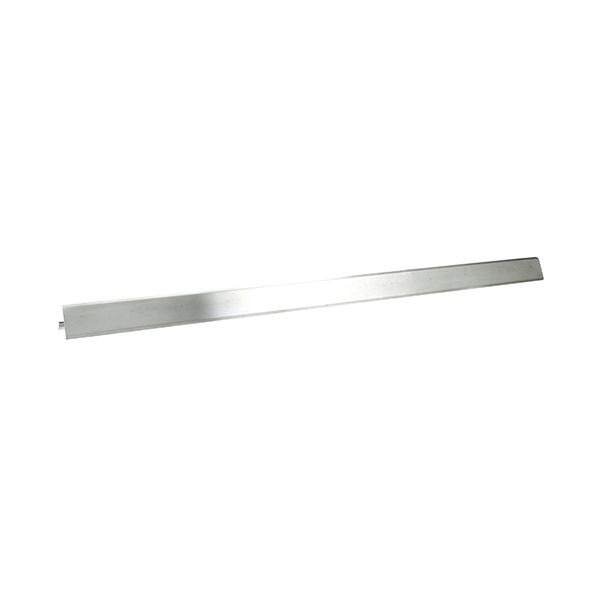
Blodgett 18113 Oven Baking Door Seal
Special Price $181.25 Regular Price $256.95
In stock
SKU
18113
Manufacturer:

The Blodgett 18113 Baking Door Seal is a essential product for commercial ovens that help to prevent improper operation or for use in energy efficient ovens. Usually made from a durable, heat resistant material, such as silicone or ceramic fiber, this seal attaches just over the metal hub and pivots when you steer the vehicle. It's installed around the edge of the oven door to create air tight seal between the door and the oven cavity. The seal on this prevents heat loss during baking, resulted in more or less constant temperatures within the oven, saving energy. It also prevents moisture from getting into the oven cavity and ruining baking.
Dimensions
- Length: 45 In
- Width: 4.7 In
- Height: 2.5 In
- Weight: 2.9 lbs
Product Notes
- Baking Door Seal
- Crumb Catcher, 44-1/2" Long, S/S, 2 Sq Holes
- Blodgett 1048