
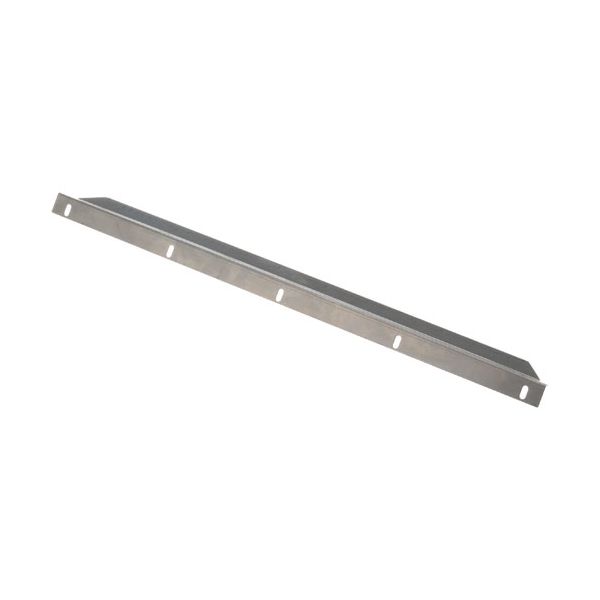
Blodgett BL16448 Oven Front Door seal W/ Pressure Lock

Special Price $37.20 Regular Price $61.79
In stock
SKU
BL16448
Manufacturer:

The Blodgett BL16448 Oven Front Door Seal with Pressure Lock is a quality component that is utilized to control the amount of heat to be retained in a commercial oven system. This seal is placed on the opening of the front door and it acts to hold the door closed using the pressure lock system. In practice it is applied in maintenance or replacement to ensure that the correct temperature is maintained in the cooking process. The seal is a component of the door assembly that operates with hinges and locking items to restrict heat loss.

Dimensions

  • Length: 22.5 In
  • Width: 2 In
  • Height: 2 In
  • Weight: 0.8 lbs
https://partsfe.com/media/catalog/product/b/l/blodgett-bl16448-oven-front-door-seal-w-pressure-lock-69686-2.jpg

Product Notes

  • Door Seal(Pressure Lock) Attaches To Front Of Door
  • Blodgett Model Dfg, 100, 200, 300, Mark V
BLODGETT:
Write Your Own Review
You're reviewing:Blodgett BL16448 Oven Front Door seal W/ Pressure Lock
Your Rating
Customer Questions
What maintenance is required for the Blodgett BL16448 Door Seal?

Inspect the oven door seal regularly for cracks, wear, or loss of flexibility that may affect sealing performance. Clean it with a mild, non-abrasive solution to remove grease buildup. Ensure the pressure lock functions properly. Avoid using sharp tools and always check the oven is cool before handling.

What are common issues with the Blodgett BL16448 Door Seal?

  • Air or heat leaks around the oven door.
  • Worn, cracked, or hardened gasket material.
  • Improper sealing causing temperature inconsistencies.
  • Loose or faulty pressure lock equipment.
  • Door not closing tightly or evenly.

We strive to provide our customers with a hassle-free and efficient shopping experience. Our shipping policy ensures the timely delivery of your orders and complete customer satisfaction. View More

We are committed to ensuring your complete satisfaction with every purchase. We understand that circumstances may arise where you must return a product or request a refund. If for any reason you are not satisfied, you may return the item(s) according to the terms outlined below. View More

This Payment Policy outlines the terms and conditions governing all payments made for products purchased through our website. By making a purchase, you agree to be bound by this Payment Policy. View More

Installation Steps

Step1: Disconnect oven power and allow to cool completely.

Step2: Remove old door seal and clean groove thoroughly.

Step3: Align new seal with pressure lock starting at top corner.

Step4: Press firmly into channel ensuring even seating around frame.

Step5: Secure ends and verify full contact around door.

Step6: Restore power and test door closure for proper seal. Wear heat-resistant gloves.

Step7: Inspect gasket alignment after heating cycle and adjust if needed.