
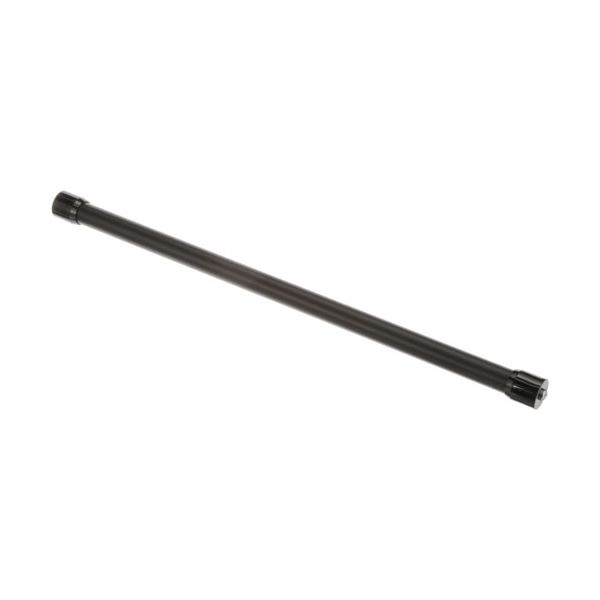
Blodgett BL21097 Oven SS Door Handle 22-3/4" X 7/8" OD, 1/4-20 X 3/4" PHIL Round Head Screws W/ Star Washer
$151.43
In stock
SKU
BL21097
Manufacturer:

The Blodgett BL21097 SS Door Handle is an essential part of the commercial ovens. The handle of this high quality stainless steel is comfortable to grip and secure enough to open and close the oven door. With a 22-3/4" length and 7/8" outside diameter, the handle will fit properly and will be a sturdy hold. It comes with 1/4-20 x 3/4" Phillips round head screws with star washers for easy and secure installation. This replacement handle has several advantages over the original handle including improved ergonomics, better durability, and a more professional appearance for your Blodgett oven.
Dimensions
- Length: 23 In
- Width: 1 In
- Height: 1 In
- Weight: 1.1 lbs
Product Notes
- Ss Door Handle
- 22-3/4" X 7/8" Od, S/S Tubing, Uses Press In Locking Stars,
- Has 1/4-20 X 3/4" Phil Round Head Screws W/ Star Washer,
- Has Spring Clip In Ends Of Tube To Hold Screws.
- Blodgett Zephaire E, G