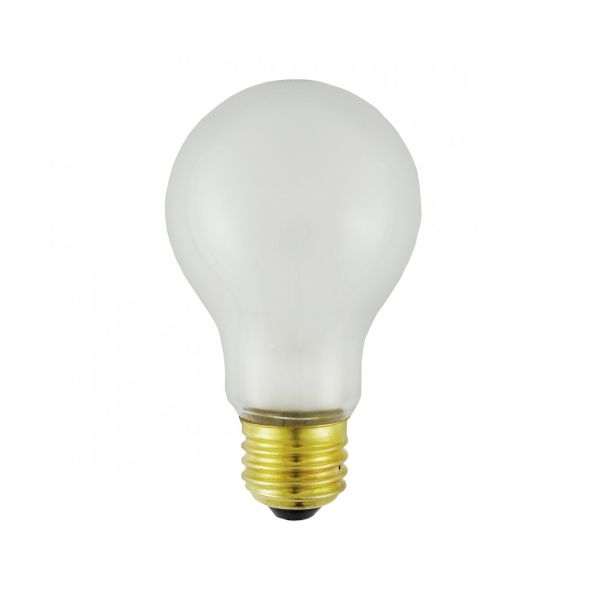
Henny Penny BL01-004 Warmer Light Bulb W/PTFE Coating 4" X 2-3/8" DIA 60W 130V

$10.78
In stock
SKU
BL01-004
The Henny Penny BL01-004 Warmer Light Bulb is used to provide a continuous supply of heat and to keep food at the right temperature during warming conditions. The PTFE coating is used to control surface exposure, and the 60W, 130V design is used to allow steady operation during holding cycles. This is normally fitted in warmer assemblies or holding cabinets over food contact areas. It is 4 inches by 2-3/8 inches in diameter and is designed to fit sockets in commercial foodservice equipment.

Dimensions

  • Length: 2.2 In
  • Width: 2.2 In
  • Height: 4 In
  • Weight: 0.06 lbs
https://partsfe.com/media/catalog/product/h/e/henny-penny-bl01-004-60w-130v-light-bulb-with-ptfe-coating-4-x-2-3-8-dia-15499-2.jpg

Product Notes

  • Light Bulb, 130V, 60W,
  • Shatterproof Ptfe Coated.
  • 4" X 2-3/8" Dia
  • Henny Penny Warmer Cw-114, Cw-216, Series Hcw
HENNY PENNY:
Write Your Own Review
You're reviewing:Henny Penny BL01-004 Warmer Light Bulb W/PTFE Coating 4" X 2-3/8" DIA 60W 130V
Your Rating
Customer Questions
What are common issues with the Henny Penny BL01-004 Light Bulb?

  • Premature burnout from heat exposure.
  • Reduced brightness due to coating discoloration.
  • Loose fitting causing intermittent lighting.
  • Cracked glass from thermal stress.
  • Electrical flickering or unstable output.

We strive to provide our customers with a hassle-free and efficient shopping experience. Our shipping policy ensures the timely delivery of your orders and complete customer satisfaction. View More

We are committed to ensuring your complete satisfaction with every purchase. We understand that circumstances may arise where you must return a product or request a refund. If for any reason you are not satisfied, you may return the item(s) according to the terms outlined below. View More

This Payment Policy outlines the terms and conditions governing all payments made for products purchased through our website. By making a purchase, you agree to be bound by this Payment Policy. View More

Installation Steps

Step1: Turn off power and allow the unit to cool completely.

Step2: Wear gloves to avoid direct contact with the bulb.

Step3: Remove the old bulb by unscrewing it gently.

Step4: Inspect socket for damage or debris.

Step5: Insert the new bulb and tighten securely without over-twisting.

Step6: Restore power and test functionality.

Step7: Ensure proper fit and avoid moisture exposure for safety.