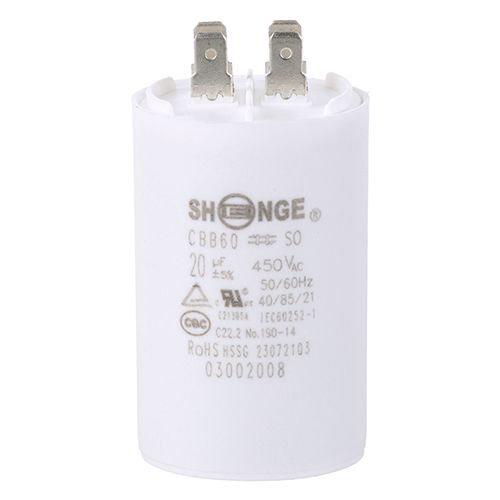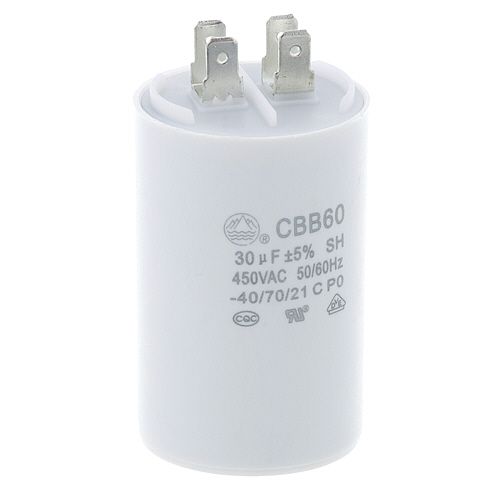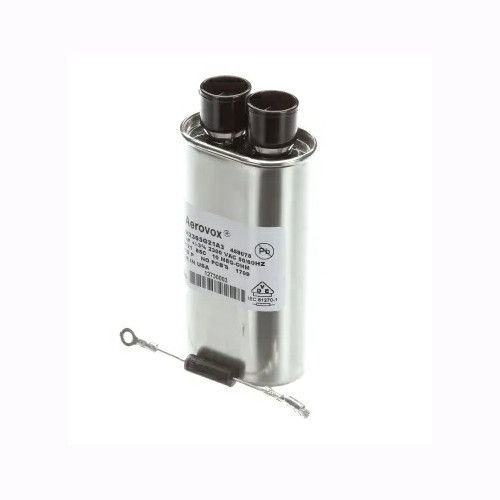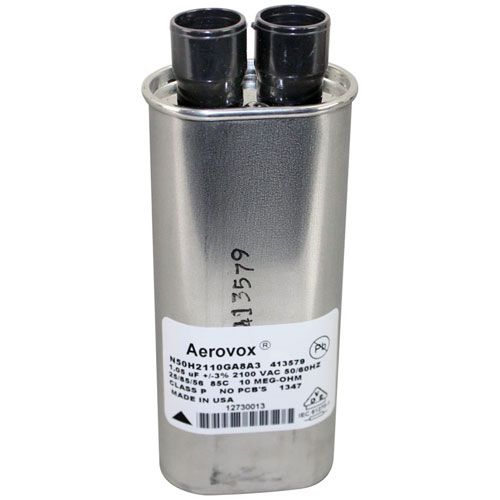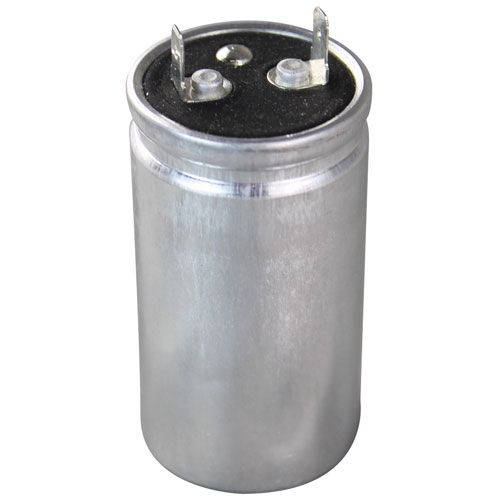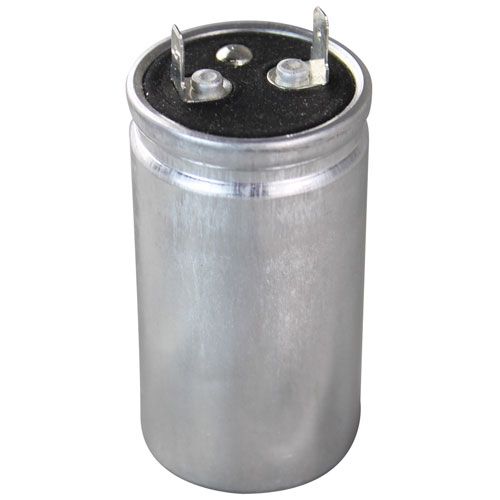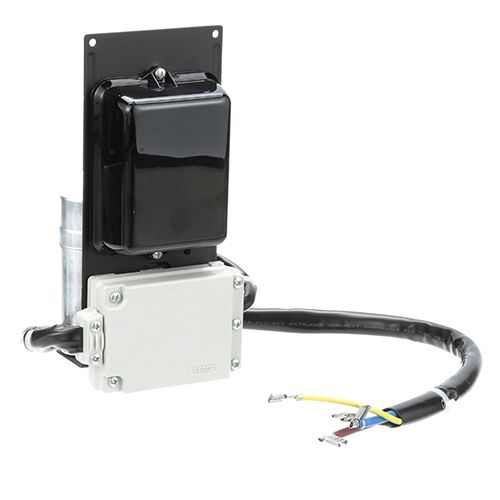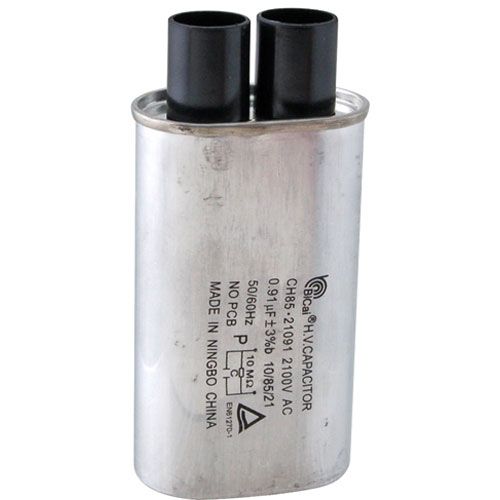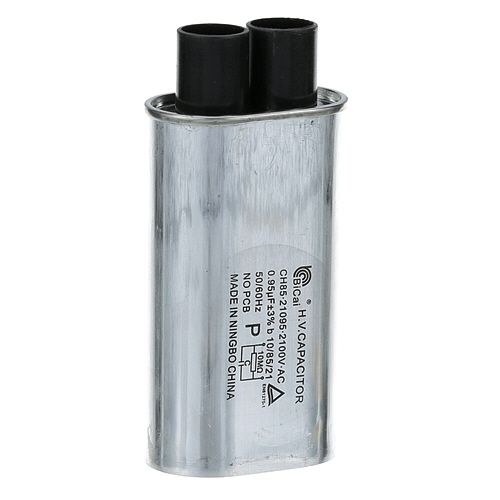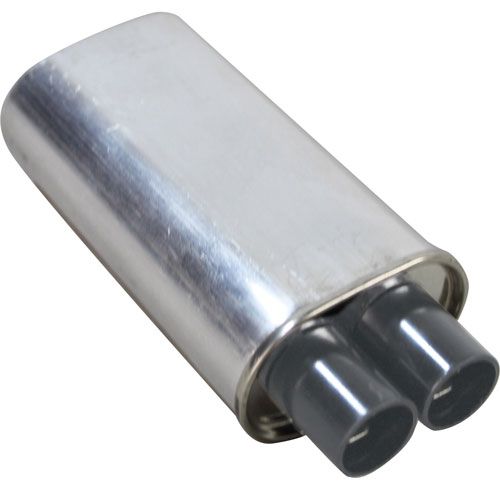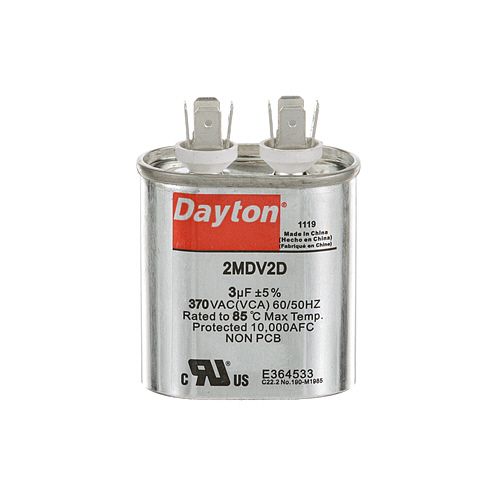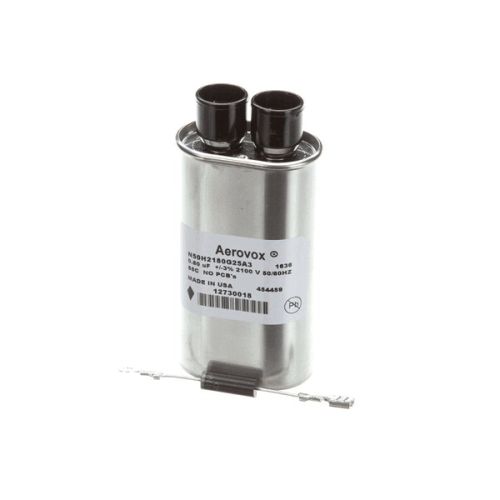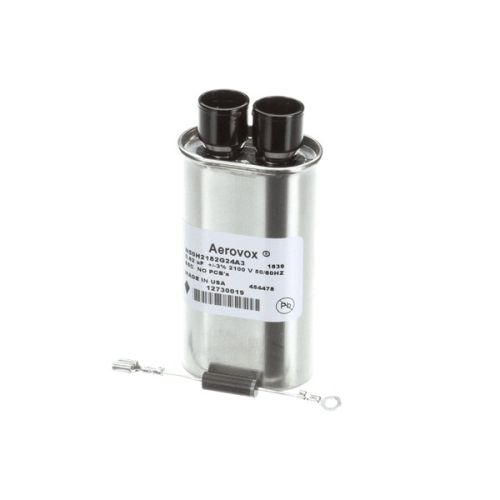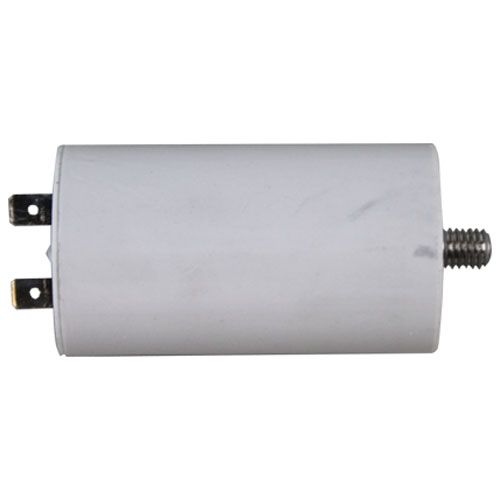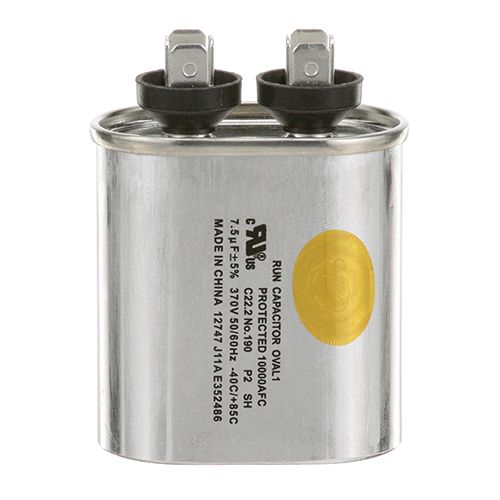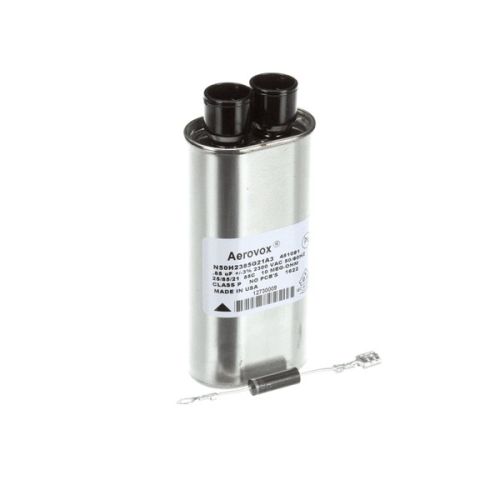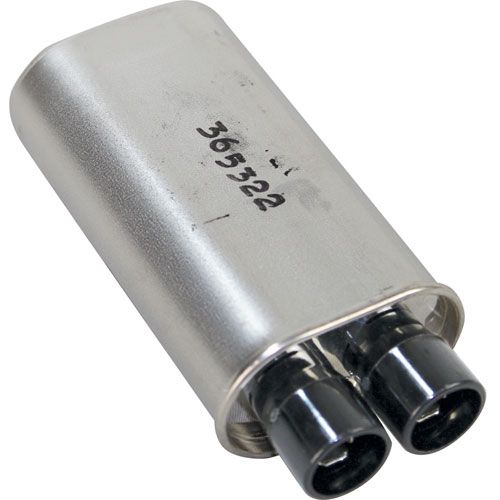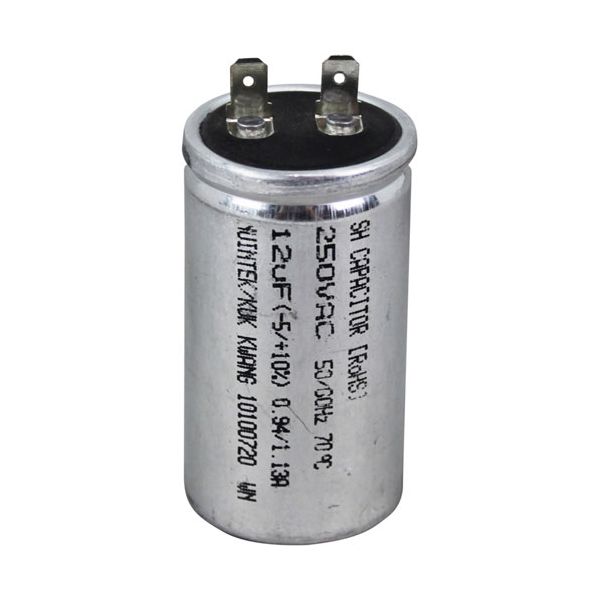
Turbo Air 30200Q1220 Start Capacitor 250V 50/60Hz 25UF

Special Price $20.59 Regular Price $36.95
In stock
SKU
30200Q1220
Manufacturer:

The Turbo Air 30200Q1220 Start Capacitor 250V 50/60Hz 25UF operates the compressor motor with a temporary electrical boost during initial startup. This part contains a certain level of energy and discharges it at a high rate to counter the inertia of the internal mechanism that is at rest. It is fitted to the electrical casing of the appliance and directly to the starting circuit of the motor. The component controls the phase shift of the current to make sure that the motor is running at the correct speed before the start winding is disconnected.

Dimensions

  • Length: 0.5 In
  • Width: 1.25 In
  • Height: 1.25 In
  • Weight: 0.25 lbs
https://partsfe.com/media/catalog/product/t/u/turbo-air-30200q1220-capacitor-61634-2.jpg

Product Notes

  • Capacitor, Run~
  • 250V / 12Uf, 50/60 Hz.
  • Fits Turbo Air Models:
  • Msr-49G-2, Msr-49Nm, Tbb-2Sg, Tbb-3Sg, Tbb-4Sb, Tbb-4Sg,
  • Tbc-50Sb, Tbc-50Sd, Tbc-65Sb, Tbc-65Sd, Tbd-2Sb, Tbd-2Sd,
  • Tbd-3Sb, Tbd-3Sd, Tbd-4Sb, Tbd-4Sd, Tcb-2Sb, Tcb-2Sd,
  • Tcb-3Sb, Tcb-3Sd, Tcb-4Sb, Tcb-4Sd, Tgim-23, Tgm-35Sd,
  • Tgm-47Sd, Tidc-26G, Tidc-26W, Tidc-70G, Tidc-70W, Tidc-91G,
  • Tidc-91W
Write Your Own Review
You're reviewing:Turbo Air 30200Q1220 Start Capacitor 250V 50/60Hz 25UF
Your Rating
Customer Questions
What maintenance is required for the Turbo Air 30200Q1220 Capacitor?

Inspect the capacitor regularly for bulging, leakage, or corrosion. Ensure electrical connections are tight and free from dust buildup. Proper maintenance helps maintain stable compressor performance and prevents overheating or failure. Always disconnect power before servicing for safety.

What are common issues with the Turbo Air 30200Q1220 Capacitor?

  • Capacitor may fail to start or run the compressor causing cooling loss.
  • Bulging or leaking body indicating internal electrical damage.
  • Intermittent operation leading to inconsistent cooling performance.
  • Overheating due to electrical pressure.

We strive to provide our customers with a hassle-free and efficient shopping experience. Our shipping policy ensures the timely delivery of your orders and complete customer satisfaction. View More

We are committed to ensuring your complete satisfaction with every purchase. We understand that circumstances may arise where you must return a product or request a refund. If for any reason you are not satisfied, you may return the item(s) according to the terms outlined below. View More

This Payment Policy outlines the terms and conditions governing all payments made for products purchased through our website. By making a purchase, you agree to be bound by this Payment Policy. View More

Installation Steps

Step1: Disconnect power and ensure the unit is fully isolated before servicing.

Step2: Remove the control panel to access the capacitor.

Step3: Discharge the capacitor safely before handling to avoid electric shock.

Step4: Label and disconnect wiring from the old capacitor terminals.

Step5: Install the new capacitor in the same mounting position and reconnect wires to matching terminals.

Step6: Secure all connections, reinstall the cover, and restore power.