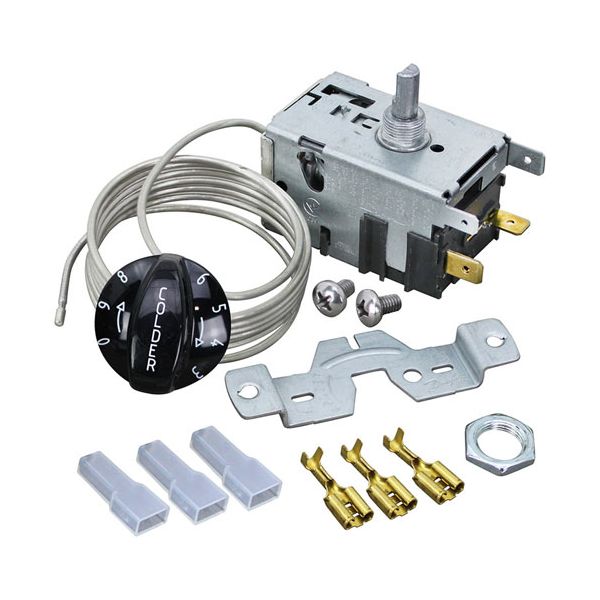
TRUE 959268 Cold Control W/ Dial 21.2°F-29.3°F 165" D-Stem
Special Price $157.49 Regular Price $242.67
In stock
SKU
959268
Manufacturer:

The True 959268 Temperature Control Kit works by controlling the internal temperature of the refrigeration units with a sensing unit that switches on the cooling system when necessary. The kit is normally fitted in the control compartment of the compatible refrigeration models, where it is linked to the thermostat and the wiring assembly to directly control the temperature. It is designed to be easily integrated which is essential to maintain the internal conditions of the unit steady and working within the created temperature range.
Dimensions
- Length: 3.75 In
- Width: 4 In
- Height: 2 In
- Weight: 0.27 lbs
Product Notes
- Cold Control W/ Dial
- Temp 21.2 To 29.3 F
- 36" Cap, .165" D-Stem
- Danfoss
- True Model Gdm-47, Tuc-67D-2