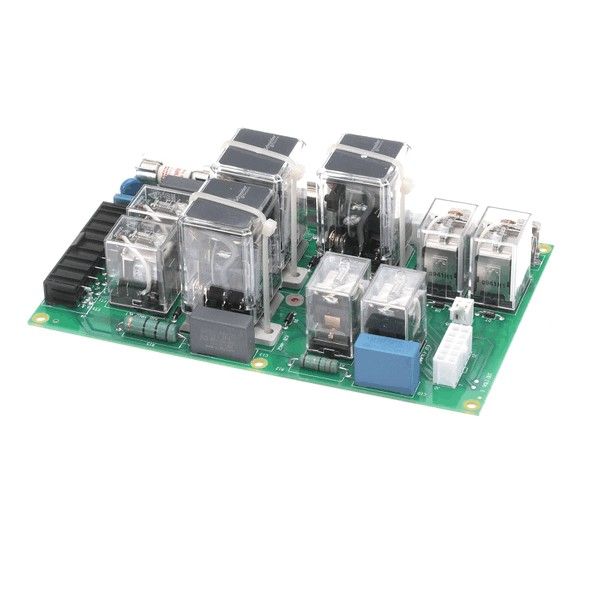
Turbochef CON-3039 Relay Board Service Kit

Special Price $334.08 Regular Price $360.00
In stock
SKU
CON-3039
The Turbochef CON-3039 Relay Board Service Kit is a replacement of the control signals in commercial settings to enable the system to control many heating elements effectively. It mounts on top of the existing relay board and connects to the circuitry of the oven to put the correct flow of operations back in place. The kit is designed to be easily integrated into any oven, with the control compartment being the most convenient place, as it is easily accessible to fix the system and the connections are organized and contained. This service kit is fully equipped with all the parts.

Dimensions

  • Length: 1 In
  • Width: 1 In
  • Height: 1 In
  • Weight: 0 lbs
https://partsfe.com/media/catalog/product/t/u/turbochef-con-3039-relay-board-service-kit-65344-2.jpg
TURBOCHEF:
Write Your Own Review
You're reviewing:Turbochef CON-3039 Relay Board Service Kit
Your Rating
Customer Questions
What maintenance is required for the Turbochef CON-3039 Relay Board Service Kit?

Inspect and secure relay board connections regularly to ensure stable operation. Clean dust buildup carefully to prevent overheating and electrical faults. Regular checks reduce unexpected failures and improve system reliability. Always disconnect power before servicing for safety.

What are common issues with the Turbochef CON-3039 Relay Board Service Kit?

  • Relay failure causing intermittent power loss.
  • Faulty connections leading to unresponsive controls.
  • Overheating or burnt components.
  • Signal communication errors with control system.
  • Intermittent relay switching under load conditions.
  • Board calibration faults causing inconsistent operation.

We strive to provide our customers with a hassle-free and efficient shopping experience. Our shipping policy ensures the timely delivery of your orders and complete customer satisfaction. View More

We are committed to ensuring your complete satisfaction with every purchase. We understand that circumstances may arise where you must return a product or request a refund. If for any reason you are not satisfied, you may return the item(s) according to the terms outlined below. View More

This Payment Policy outlines the terms and conditions governing all payments made for products purchased through our website. By making a purchase, you agree to be bound by this Payment Policy. View More

Installation Steps

Step1: Disconnect power supply and confirm unit is fully de-energized.

Step2: Remove outer cover to access control compartment safely.

Step3: Label and disconnect all wiring from existing relay board.

Step4: Unscrew and remove the faulty relay board carefully.

Step5: Mount the new relay board from the service kit in the same position.

Step6: Reconnect all wires securely following original layout.

Step7: Refit cover, restore power, and test all relay for proper operation.