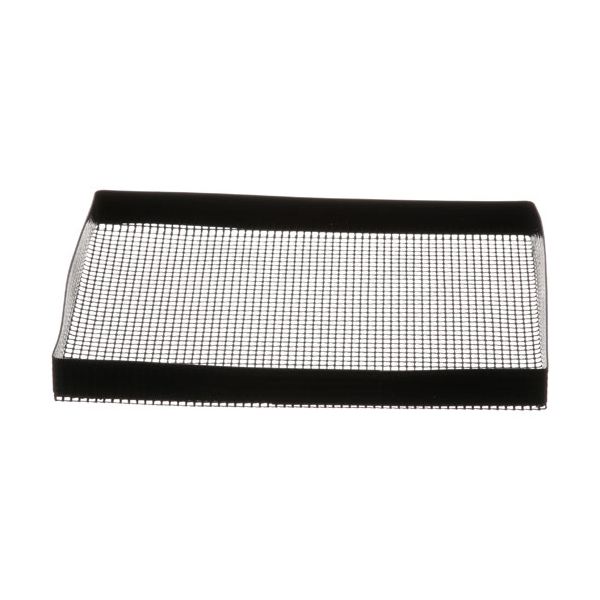
TurboChef I1-9169 Perforated Cooking Basket PTFE
$73.37
In stock
SKU
I1-9169
Manufacturer:

The TurboChef I1-9169 Perforated Cooking Basket enables hot air and heat to move around food due to its perforated nature making sure that food cooks evenly. It is covered with PTFE, which gives it a non-sticky surface that does not allow food to stick to the surface during cooking. This basket is inserted into a matching one, which is firmly positioned on the tray or the oven rack. Its holes and the coating also make it applicable to the objects that are better with airflow on both sides, and remove cooked food easily after the cooking cycle is finished.
Dimensions
- Length: 11.15 In
- Width: 9.35 In
- Height: 1.4 In
- Weight: 1.67 lbs