
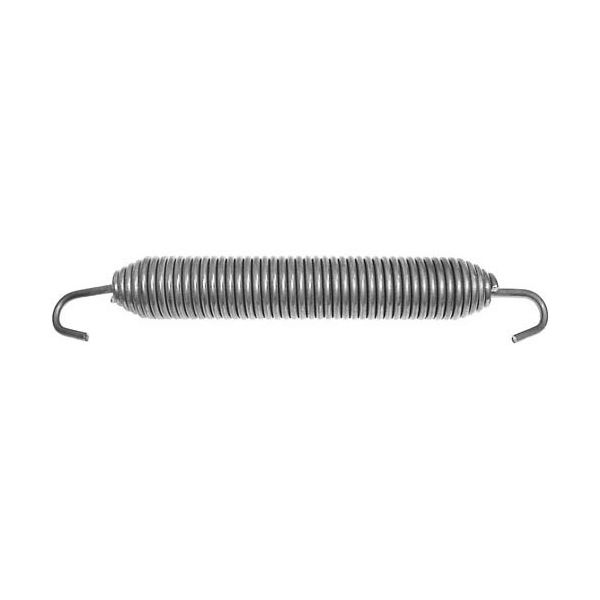
Marsal And Sons D-280 Oven Door Spring W/ Loose Hooks 11-1/2" x 1-1/4"

Special Price $59.48 Regular Price $151.59
In stock
SKU
D-280
Manufacturer:

The Marsal and Sons D-280 Door Spring with Loose Hooks 11-1/2" x 1-1/4" functions as a dependable component for oven doors. The reliable spring base provides smooth door movements which helps prevent damage from occurring throughout its life. You can easily install this product through its loose hooks to provide quick repair or replacement solutions. improve oven efficiency increases because this part properly seals doors which in turn improves energy retention and creates uniform cooking outcomes. The spring's sturdy design enables long-term durability which supports the oven's better operational performance.

Dimensions

  • Length: 9 In
  • Width: 1.25 In
  • Height: 1.25 In
  • Weight: 1.6 lbs
https://partsfe.com/media/catalog/product/m/a/marsal-and-sons-d-280-oven-door-spring-w-loose-hooks-11-1-2-x-1-1-4-39707-2.jpg

Product Notes

  • Door Spring
  • 11-1/2" X 1-1/4" Wide, Has Loose Swivel Hooks,
  • Bake Oven, Top Door Spring. Large,
  • Bakers Pride Oven: This Door Spring Is For The
  • Top Door Only Of Old Style Ovens.
  • Marsal And Sons Oven Sd1060
BAKERS PRIDE:
2P-S3002A, BKPS3002A, BKPS3002X, S3002A, S3002X
BLODGETT:
MARSAL AND SONS:
Write Your Own Review
You're reviewing:Marsal And Sons D-280 Oven Door Spring W/ Loose Hooks 11-1/2" x 1-1/4"
Your Rating
Customer Questions
What maintenance is required for the Marsal And Sons D-280 Door Spring?

Keep the oven door spring clean and free from grease, carbon buildup, and debris to maintain proper tension and smooth door operation. Regularly inspect the hooks and coils for stretching, corrosion, or fatigue that can reduce performance. Ensure secure mounting to prevent sudden disengagement or misalignment. Replace the spring if it loses tension or shows visible damage to avoid door slamming or safety hazards.

What are common issues with the Marsal And Sons D-280 Oven Door Spring?

  • Loss of tension causing oven door to drop or slam shut.
  • Hook wear or bending leading to detachment from mounting points.
  • Spring stretching or fatigue from repeated high-heat cycling.
  • Corrosion or rust reducing flexibility and overall performance.

We strive to provide our customers with a hassle-free and efficient shopping experience. Our shipping policy ensures the timely delivery of your orders and complete customer satisfaction. View More

We are committed to ensuring your complete satisfaction with every purchase. We understand that circumstances may arise where you must return a product or request a refund. If for any reason you are not satisfied, you may return the item(s) according to the terms outlined below. View More

This Payment Policy outlines the terms and conditions governing all payments made for products purchased through our website. By making a purchase, you agree to be bound by this Payment Policy. View More

Installation Steps

Step1: Disconnect power and allow the oven to cool completely before servicing.

Step2: Open the oven door fully and support it to prevent sudden movement.

Step3: Remove the old spring by carefully unhooking it from both mounting points.

Step4: Inspect brackets for wear, bending, or heat damage and clean the area.

Step5: Attach the new spring using the loose hooks on each side.

Step6: Ensure proper tension so the door opens and closes smoothly without sticking.

Step7: Test door operation several times and confirm secure alignment before use.