
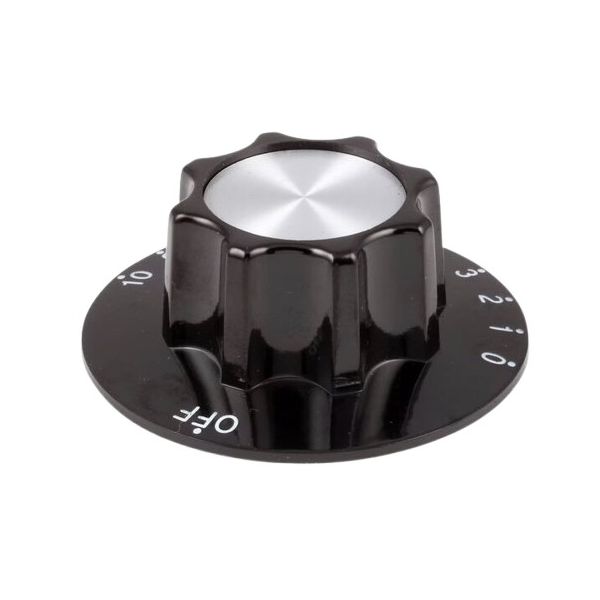
Star Mfg 2R-2100087 Thermostat Dial Knob 2-1/4" DIA Off 10-0
Special Price $23.35 Regular Price $29.95
In stock
SKU
2R-2100087
Manufacturer:

The Star Mfg 2R-2100087 Thermostat Dial Knob 2-1/4" DIA Off 10-0 is a control interface part that is utilised in commercial cooking appliances. It is commonly installed on appliances where a high degree of temperature regulation is needed. The knob is mounted on the shaft of the thermostat and it provides a tactile interface to turn the temperature control on and off to the highest setting. Its position in the system ensures proper user input, the stability of the operational temperatures and safe and effective functioning of the appliance in regular use.
Dimensions
- Length: 2.25 In
- Width: 2.25 In
- Height: 0.875 In
- Weight: 0.04 lbs
Product Notes
- Knob, [ 2-1/4" Dia ] [ Off 10-0] [Mount .187"]
- [Flat Position Up],
- Toastmaster Warmer