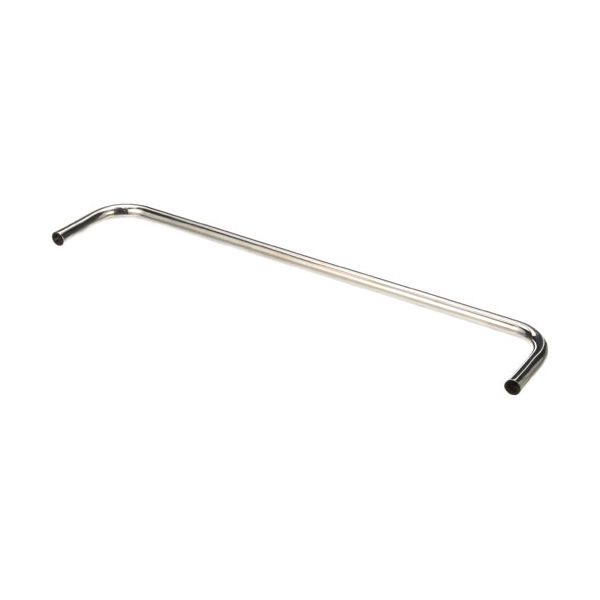
Blodgett 8340 Oven Door Handle 20' CTRS
Special Price $62.14 Regular Price $122.47
In stock
SKU
8340
Manufacturer:

Blodgett 8340 Door Handle is a tough and essential part for ovens, particularly the models 999 and 1000. This handle measures 20 inches to center, making it easy and safe for you to open and close the door, increasing your cooking objectivity. Made from durable materials, it stands up to high temperatures seen in commercial kitchens, and has a comfortable grip for users. 1/4"-20 x 1-1/4" Phillips plated head screws are used to secure the handle with, for a reliable and sturdy installation.
Dimensions
- Length: 8.184 In
- Width: 1.628 In
- Height: 0.279 In
- Weight: 1.215 lbs
Product Notes
- Door Handle
- 20" Ctrs, Has 1/4"-20 X 1-1/4" Phil Plat Head Screws
- Blodgett 999, 1000