

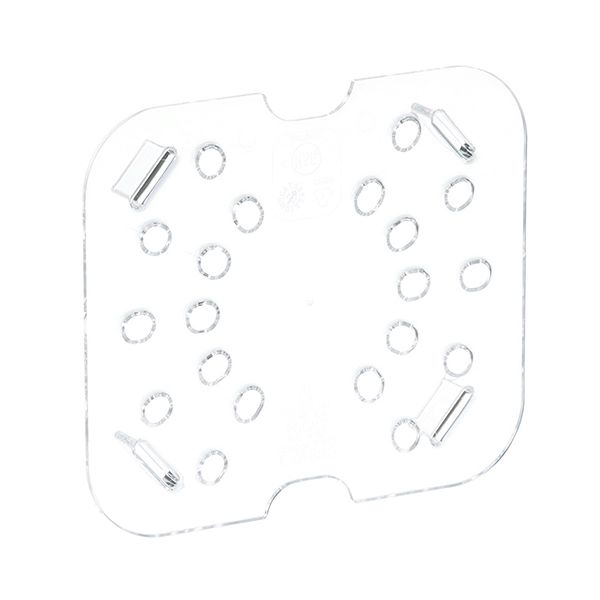
Cambro 60CWD Drain Shelf Clear 1/6 Size Food Pan

$4.18
In stock
SKU
60CWD
Manufacturer:

The Cambro 60CWD Drain Shelf is a clear insert to be used with matching 1/6-size food pans to separate the contents and the excess liquid. It raises food above the gathered moisture and lets it drain to the bottom of the pan without losing the quality of the part during storage or service. The shelf is installed directly into the pan as a component of the food-holding arrangement to allow adequate moisture control. In food preparation and kitchen settings it assists in keeping the presentation orderly and the food in a consistent state for a smooth workflow.

Dimensions

  • Length: 4.7 In
  • Width: 4.3 In
  • Height: 0.7 In
  • Weight: 0.07 lbs
https://partsfe.com/media/catalog/product/c/a/cambro-60cwd-drain-tray-1-6-size-135-clear-43960-2.jpg

Product Notes

  • Clear Polycarbonate Food Pan Drain Rack, -40 To 210 F
  • Cold, Warm, Not Steam
  • 1/8 Size, 6-3/8" X 6-7/8"
Write Your Own Review
You're reviewing:Cambro 60CWD Drain Shelf Clear 1/6 Size Food Pan
Your Rating
Customer Questions
What maintenance is required for the Cambro 60CWD Drain Tray?

Clean the drain tray regularly with mild detergent and warm water to prevent grease buildup. Rinse thoroughly to avoid chemical residue affecting food safety. Inspect for cracks or warping and ensure proper drainage function.

What are common issues with the Cambro 60CWD Drain Tray?

  • Grease buildup can restrict drainage flow.
  • Cracking may occur under heavy impact or rough handling.
  • Warping from high heat exposure affecting fit.
  • Clogging due to food particles blocking drainage holes.

We strive to provide our customers with a hassle-free and efficient shopping experience. Our shipping policy ensures the timely delivery of your orders and complete customer satisfaction. View More

We are committed to ensuring your complete satisfaction with every purchase. We understand that circumstances may arise where you must return a product or request a refund. If for any reason you are not satisfied, you may return the item(s) according to the terms outlined below. View More

This Payment Policy outlines the terms and conditions governing all payments made for products purchased through our website. By making a purchase, you agree to be bound by this Payment Policy. View More

Installation Steps

Step1: Turn off and unplug the unit before starting.

Step2: Remove the existing tray and clean the mounting area to eliminate residue or buildup.

Step3: Position the new drain tray under the dispenser, aligning it with support brackets or rails.

Step4: Secure the tray firmly so it sits stable and level during use.

Step5: Ensure proper alignment with the drain outlet for effective liquid flow.

Step6: Restore power and run a quick test to confirm proper drainage and stability.