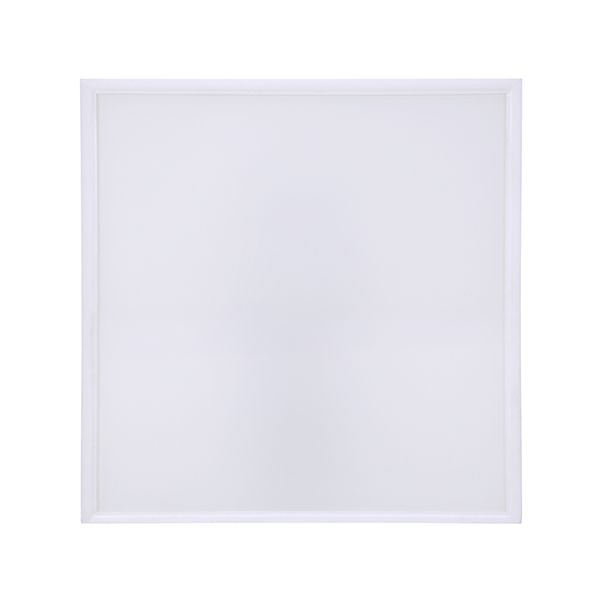
Sharp Microwave FGLSPA076WRYZ Ceramic Shelf(M# R21HT)

$191.45
In stock
SKU
FGLSPA076WRYZ
Shelf,Ceramic (M# R21ht)

Dimensions

  • Length: 16 In
  • Width: 16 In
  • Height: 1.75 In
  • Weight: 2.765 lbs
https://partsfe.com/media/catalog/product/s/h/sharp-microwave-fglspa076wryz-ceramic-shelf-m-r21ht-15513-2.jpg

Product Notes

  • Color: White
  • Material: Ceramic
  • Length: 13 1/4" | 337 mm
  • Width: 13" | 330 mm
  • Includes: Rubber Gasket Around All Sides
Write Your Own Review
You're reviewing:Sharp Microwave FGLSPA076WRYZ Ceramic Shelf(M# R21HT)
Your Rating
Customer Questions
What maintenance is required for the Sharp Microwave FGLSPA076WRYZ Ceramic Shelf?

Clean the ceramic shelf regularly using a soft cloth with mild detergent and warm water to remove food spills and grease. Avoid abrasive cleaners that may scratch the surface. Inspect for chips or cracks before use to ensure secure appliance operation and even heating performance.

What are common issues with the Sharp FGLSPA076WRYZ Ceramic Shelf?

  • Cracking or chipping from heavy or uneven loads.
  • Surface staining from repeated food spills.
  • Overheating damage from improper use.
  • Reduced support if mounting points become worn or loose.

We strive to provide our customers with a hassle-free and efficient shopping experience. Our shipping policy ensures the timely delivery of your orders and complete customer satisfaction. View More

We are committed to ensuring your complete satisfaction with every purchase. We understand that circumstances may arise where you must return a product or request a refund. If for any reason you are not satisfied, you may return the item(s) according to the terms outlined below. View More

This Payment Policy outlines the terms and conditions governing all payments made for products purchased through our website. By making a purchase, you agree to be bound by this Payment Policy. View More

Installation Steps

Step1: Unplug unit and let it cool completely to ensure safety.

Step2: Open door and remove any existing shelf from cavity.

Step3: Position new shelf onto interior support brackets carefully.

Step4: Ensure shelf is level and securely seated on all sides.

Step5: Check for cracks or misalignment before use.