

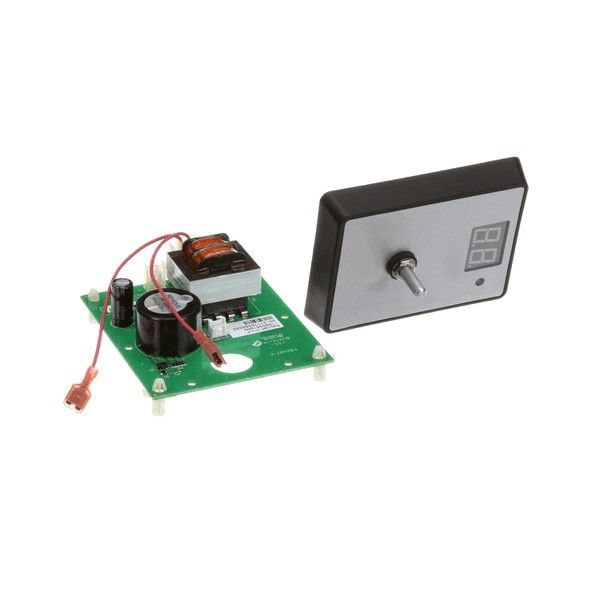
Garland CK11000301070 Convection Oven Digital Timer Complete 115V

Special Price $436.53 Regular Price $442.73
In stock
SKU
CK11000301070
Manufacturer:

The Garland CK11000301070 Convection Oven Digital Timer Complete 115V controls timed cooking cycles in compatible appliances by regulating electrical signals, that activate and end operation based on preset intervals. It operates on a 115V power supply and works with the ovens, regulating system to manage cooking intervals for various baking and roasting applications. This digital timer assembly is installed in commercial convection ovens used in restaurants, bakeries, cafeterias, and foodservice operations where timed cooking equipment is utilized for preparing baked goods, roasted dishes, and other menu items during routine kitchen production activities.

Dimensions

  • Weight: 0 lbs
https://partsfe.com/media/catalog/product/c/k/ck11000301070-1.jpg

Product Notes

  • Type: Digital Timer Complete
  • Voltage: 115V
Write Your Own Review
You're reviewing:Garland CK11000301070 Convection Oven Digital Timer Complete 115V
Your Rating
Customer Questions
What maintenance is required for the Garland CK11000301070 Digital Timer?

Inspect electrical connections regularly for looseness or corrosion and ensure the timer interface remains clean and dry. Avoid exposure to grease or moisture buildup around the control panel. Proper maintenance helps maintain accurate timing cycles, prevents electrical faults, and ensures consistent cooking performance in convection oven operations.

What are common issues with the Garland CK11000301070 Digital Timer?

  • Timer display failure or dimming.
  • Inaccurate or inconsistent timing cycles.
  • Unresponsive control buttons or interface.
  • Electrical connection faults or loose wiring.
  • Power surges causing reset or malfunction.

We strive to provide our customers with a hassle-free and efficient shopping experience. Our shipping policy ensures the timely delivery of your orders and complete customer satisfaction. View More

We are committed to ensuring your complete satisfaction with every purchase. We understand that circumstances may arise where you must return a product or request a refund. If for any reason you are not satisfied, you may return the item(s) according to the terms outlined below. View More

This Payment Policy outlines the terms and conditions governing all payments made for products purchased through our website. By making a purchase, you agree to be bound by this Payment Policy. View More

Installation Steps

Step1: Disconnect main power supply and ensure oven is completely cool before starting.

Step2: Remove control panel cover carefully using appropriate screwdriver tools.

Step3: Disconnect old timer wiring noting and labeling each connection point.

Step4: Mount new digital timer into bracket ensuring proper alignment.

Step5: Reconnect wiring to matching terminals securely as per labeling.

Step6: Reinstall panel cover and tighten all screws evenly.

Step7: Restore power supply and test timer function for accuracy and safety.