Vulcan Hart 00-960598 Holding Cabinet Door Gasket Black Sponge Rubber 3/8" X 5/8"

$1.18
In stock
SKU
00-960598
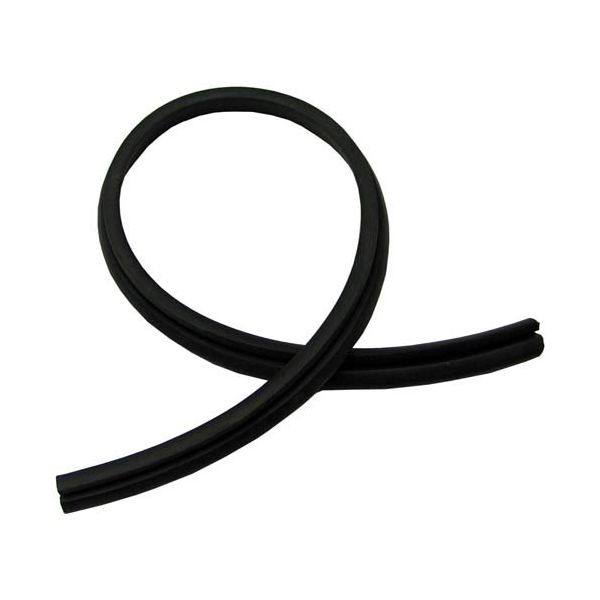
The Vulcan Hart 00-960598 Holding Cabinet Door Gasket Black Sponge Rubber 3/8" x 5/8" is a tight-fitting seal that compresses into the frame of the shelf when the door is closed to ensure the same internal conditions. This gasket is installed around the edges of the sealing unit gate, and it fits into the groove that is intended to form a continuous barrier. It is made with a sponge rubber profile that fits the shape of the door and provides proper operation of commercial food-holding equipment in a commercial kitchen setting.

Dimensions

  • Length: 1 In
  • Width: 0.5 In
  • Height: 0.3 In
  • Weight: 0.1 lbs
https://partsfe.com/media/catalog/product/v/u/vulcan-hart-00-960598-black-sponge-rubber-door-gasket-3-8-wide-x-5-8-thick-10876-2.jpg

Product Notes

  • Door Gasket Per Ft
  • Black Sponge Rubber, 3/8" Wide X 5/8" Thick
  • Fwe Food Warming Equipment
  • Wittco Warmer
FOOD WARMING EQUIPMENT:
FWEGSKT DR, FWEGSKT-DR, GSKT DR, GSKT-DR, GSKTDR
WITTCO:
00-960598, 960598, WITWP-302, WITWP302, WP-302, WP302
Write Your Own Review
You're reviewing:Vulcan Hart 00-960598 Holding Cabinet Door Gasket Black Sponge Rubber 3/8" X 5/8"
Your Rating
Customer Questions
What maintenance is required for the Vulcan Hart 00-960598 Door Gasket?

Clean the gasket to remove grease and buildup from repeated use. Check for compression along the sealing edge. Ensure it remains seated in place. Even contact prevents heat or air escape.

What are common issues with the Vulcan Hart 00-960598 Door Gasket?

  • Rubber is losing elasticity.
  • Gaps forming along the door edge.
  • Sections compressing unevenly.
  • Heat is escaping from the unit.

We strive to provide our customers with a hassle-free and efficient shopping experience. Our shipping policy ensures the timely delivery of your orders and complete customer satisfaction. View More

We are committed to ensuring your complete satisfaction with every purchase. We understand that circumstances may arise where you must return a product or request a refund. If for any reason you are not satisfied, you may return the item(s) according to the terms outlined below. View More

This Payment Policy outlines the terms and conditions governing all payments made for products purchased through our website. By making a purchase, you agree to be bound by this Payment Policy. View More

Installation Steps

Step1: Disconnect power and allow unit to cool completely before starting.

Step2: Open door and carefully remove old gasket noting orientation.

Step3: Clean gasket channel with mild detergent and dry thoroughly.

Step4: Align new gasket and press into channel evenly starting at corners.

Step5: Secure all edges ensure no gaps or twists in seal.

Step6: Close door and check for air leaks.