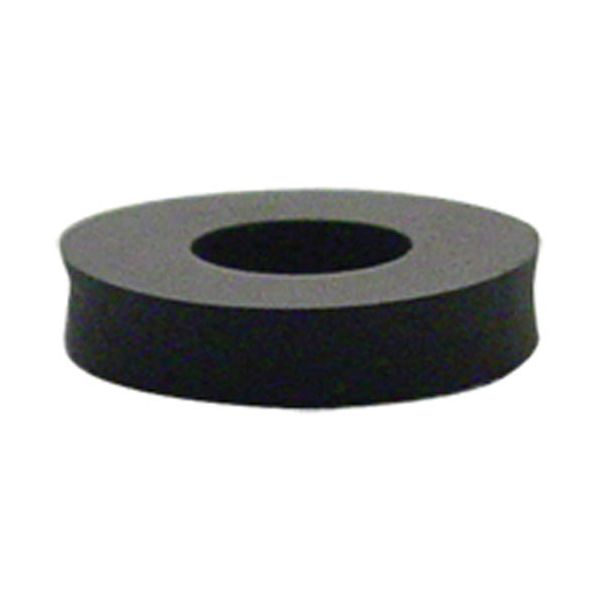
Fisher Manufacturing 2922-5000 Pre-Rinse Grip Gasket

$4.96
In stock
SKU
2922-5000
The Fisher Manufacturing 2922-5000 Pre-Rinse Grip Gasket provides a closed system between parts in commercial appliances to avoid leakage of air, gas, or liquids. It works by pressing between mating surfaces to provide a tight seal when normal operation takes place. This gasket is used in compatible Fisher units in piping, valves or equipment assemblies. It ensures safe and effective functioning. The gasket is used to ensure that there is the right flow, to avoid any contamination, and to make the equipment work properly when used in the normal course of things.

Dimensions

  • Length: 0.75 In
  • Width: 0.75 In
  • Height: 0.25 In
  • Weight: 0 lbs
https://partsfe.com/media/catalog/product/f/i/fisher-2922-5000-gasket-79048-2.jpg

Product Notes

  • Gasket
  • Fisher Hose Assembly, Pot Filler-Deck Mount, Pot Filler-Wall
  • Mount, Pre-Rinse Spring Style-Deck Mount, Pre-Rinse Spring
  • Style-Wall Mount, Pre-Rinse Swivel Style-Deck Mount,
  • Pre-Rinse Swivel Style-Wall Mount,
  • Utility Spray-Deck Mount,
  • Utility Spray-Wall Mount
Write Your Own Review
You're reviewing:Fisher Manufacturing 2922-5000 Pre-Rinse Grip Gasket
Your Rating
Customer Questions
What maintenance is required for the Fisher 2922-5000 Gasket?

Inspect the gasket regularly for cracks, hardening, or deformation and clean sealing surfaces to ensure proper fit. Replace when wear appears to prevent leaks and maintain system efficiency. Avoid exposure to harsh chemicals and excessive heat.

What are common issues with the Fisher 2922-5000 Gasket?

  • Leakage due to seal wear or improper seating.
  • Cracking or hardening from heat and chemical exposure.
  • Loss of flexibility leading to poor compression sealing.
  • Misalignment causing uneven pressure distribution and minor leaks.

We strive to provide our customers with a hassle-free and efficient shopping experience. Our shipping policy ensures the timely delivery of your orders and complete customer satisfaction. View More

We are committed to ensuring your complete satisfaction with every purchase. We understand that circumstances may arise where you must return a product or request a refund. If for any reason you are not satisfied, you may return the item(s) according to the terms outlined below. View More

This Payment Policy outlines the terms and conditions governing all payments made for products purchased through our website. By making a purchase, you agree to be bound by this Payment Policy. View More

Installation Steps

Step1: Shut off equipment and depressurize the system. Remove old gasket and clean sealing surfaces.

Step2: Inspect mating surfaces for damage, corrosion, or unevenness. Confirm compatibility of gasket.

Step3: Align new gasket carefully and seat evenly without stretching or twisting.

Step4: Tighten bolts in crisscross pattern to manufacturer’s recommended torque specification for proper sealing.

Step5: Restore system pressure and check for leaks around gasket area. Wear safety gloves and eye protection.