

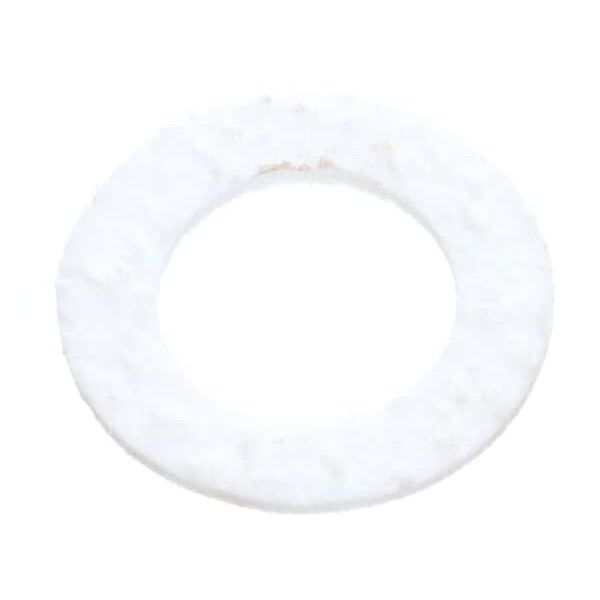
Montague 20923-6 Gasket

$18.66
In stock
SKU
20923-6
Manufacturer:

The Montague 20923-6 Gasket is a seal that is used to make sure that two mating surfaces are covered by compressing a little when the parts are brought together to ensure that air, fluid or gas is not leaked at the point of connection. It is installed at the desired sealing point in the equipment of the required size and shape, where this size and shape of gasket are required. This gasket is applicable in commercial kitchen systems to seal between panels, covers or fluid passages.

Dimensions

  • Length: 1 In
  • Width: 0.5 In
  • Height: 0.5 In
  • Weight: 0.01 lbs
https://partsfe.com/media/catalog/product/m/o/montague-20923-6-gasket-33953-2.jpg

Product Notes

  • Gasket
  • 2-1/16" Od
  • Montague Broiler C36, C45, 34W36, 234W36, 136W36, 43W36,
  • 243W36
MONTAGUE:
Write Your Own Review
You're reviewing:Montague 20923-6 Gasket
Your Rating
Customer Questions
What maintenance is required for the Montague 20923-6 Gasket?

Inspect gasket for cracks or hardening and clean regularly with mild detergent. Proper maintenance ensures tight sealing and prevents heat or air leakage. Replace damaged gaskets carefully to ensure safety and efficient operation performance accuracy.

What are common issues with the Montague 20923-6 Gasket?

  • Cracking or hardening causing poor sealing.
  • Air or heat leakage from worn gasket edges.
  • Tearing or deformation during use or installation.
  • Loss of elasticity leading to improper door closure.
  • Surface contamination affecting seal.

We strive to provide our customers with a hassle-free and efficient shopping experience. Our shipping policy ensures the timely delivery of your orders and complete customer satisfaction. View More

We are committed to ensuring your complete satisfaction with every purchase. We understand that circumstances may arise where you must return a product or request a refund. If for any reason you are not satisfied, you may return the item(s) according to the terms outlined below. View More

This Payment Policy outlines the terms and conditions governing all payments made for products purchased through our website. By making a purchase, you agree to be bound by this Payment Policy. View More

Installation Steps

Step1: Turn off and unplug equipment allow cooling

Step2: Remove old gasket carefully using suitable tool avoiding damage

Step3: Clean mounting surface thoroughly to remove grease debris ensure dry

Step4: Align new gasket with grooves press firmly and secure evenly around

Step5: Restore power and check seal integrity for leaks or gaps ensure safety properly

Step6: Run equipment briefly and monitor performance; re-tighten if needed carefully