
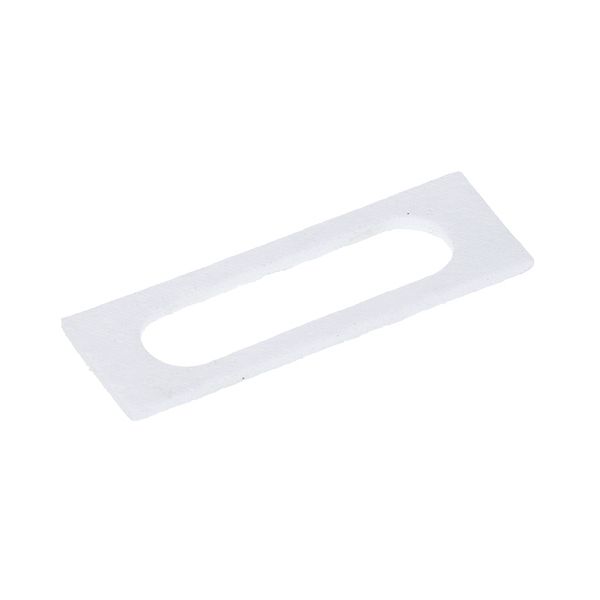
Frymaster 8160059 Ignitor Fiberglass Gasket 3" X 1" W/Slot 1/8" Thick

$14.36
In stock
SKU
8160059
Manufacturer:

The Frymaster 8160059 Ignitor Fiberglass Gasket 3" X 1" W/Slot 1/8" Thick is used to seal the ignitor assembly by compressing between mating surfaces to prevent the passage of gases, heat or contaminants through the gap. It has a slotted and fiberglass construction that allows the ignitor to sit and still seal. It attaches to the ignitor mounting point of compatible gas equipment, thickness and a slot are needed. This ignitor gasket is used in applications that are meant to seal ignition components around commercial fryers.

Dimensions

  • Length: 3 In
  • Width: 1 In
  • Height: 0.2 In
  • Weight: 0.05 lbs
https://partsfe.com/media/catalog/product/f/r/frymaster-8160059-3-x-1-igniter-fiberglass-gasket-w-slot-1-8-thick-60347-2.jpg

Product Notes

  • Igniter Gasket, 1" X 3" Wide Fiberglass With Slot,
  • 1/8" Thick,
  • Used On Igniters # 44-1373, # 44-1374
  • Frymaster Fryer Mjh50
Write Your Own Review
You're reviewing:Frymaster 8160059 Ignitor Fiberglass Gasket 3" X 1" W/Slot 1/8" Thick
Your Rating
Customer Questions
What maintenance is required for the Frymaster 8160059 Igniter Gasket?

Clean gasket surface regularly to prevent grease buildup and ensure proper sealing. Inspect for cuts or hardening and ensure slot alignment during installation. Proper maintenance preserves heat efficiency and prevents gas leakage or uneven ignition issues.

What are common issues with the Frymaster 8160059 Igniter Gasket?

  • Gasket cracking from repeated heat exposure.
  • Poor sealing causing heat loss or ignition inconsistency.
  • Misaligned slot leading to improper burner ignition.
  • Fiberglass wear resulting in reduced insulation performance.

We strive to provide our customers with a hassle-free and efficient shopping experience. Our shipping policy ensures the timely delivery of your orders and complete customer satisfaction. View More

We are committed to ensuring your complete satisfaction with every purchase. We understand that circumstances may arise where you must return a product or request a refund. If for any reason you are not satisfied, you may return the item(s) according to the terms outlined below. View More

This Payment Policy outlines the terms and conditions governing all payments made for products purchased through our website. By making a purchase, you agree to be bound by this Payment Policy. View More

Installation Steps

Step1: Turn off gas and electrical supply; allow unit to cool completely.

Step2: Remove old gasket and clean mounting surface of debris and grease.

Step3: Align new fiberglass gasket with slot over igniter housing carefully.

Step4: Secure igniter assembly and tighten fasteners evenly to avoid damage.

Step5: Restore power, test ignition, and check for proper seal and heat safety.

Step6: Inspect gasket alignment after first heat cycle and retighten if necessary.