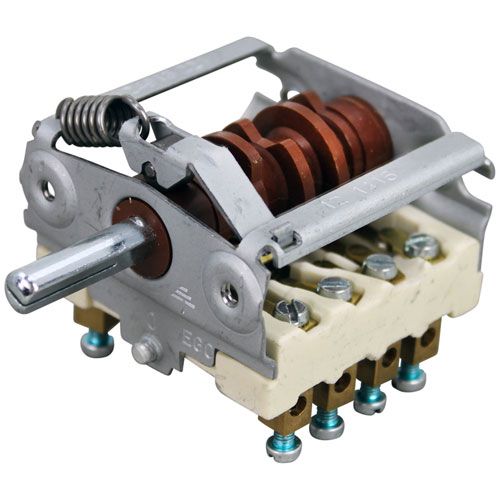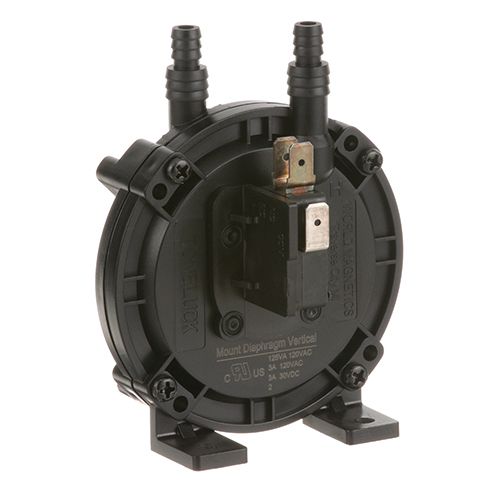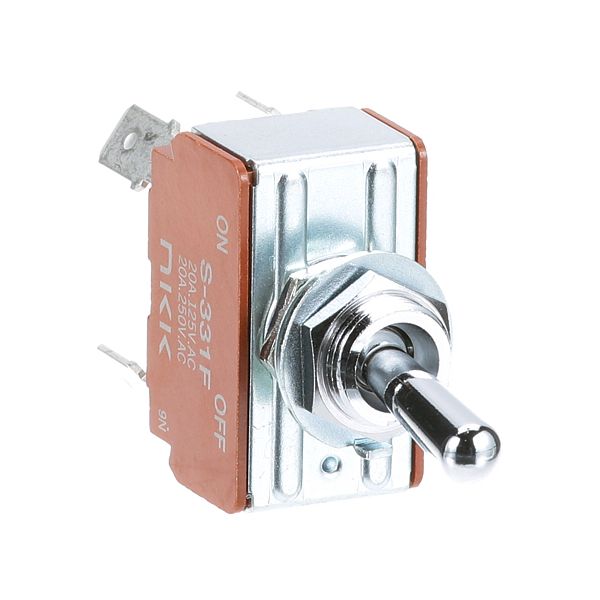
Henny Penny 70046 HP Switch HC900-HC94 4

Special Price $30.34 Regular Price $30.95
In stock
SKU
70046
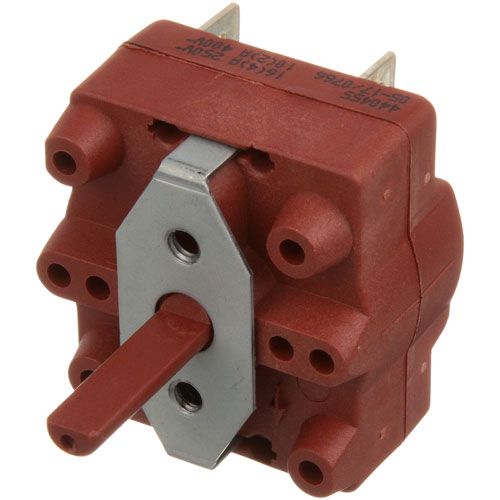
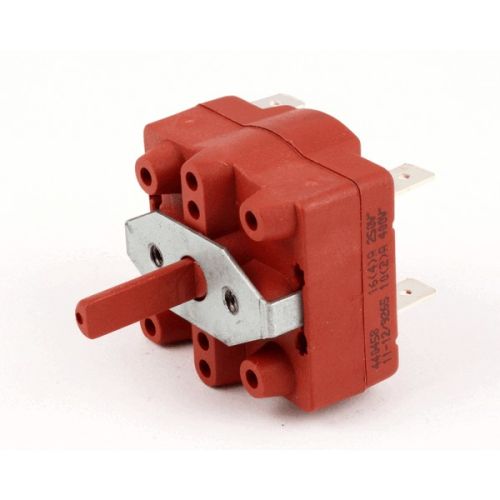
The Henny Penny 70046 HP Switch HC900-HC94 4 is a switch for high performance suited for the fryers. It provides better regulating of temperature and pressure of the system hence improving the efficiency of the system. This switch assists in maintaining a consistent condition for cooking and therefore prepares the food to the better quality all the time. It is designed to last, which means you can easily get long service. The advantages are increased uniformity of the food, energy savings, and time, which make it an indispensable part of the fryer for commercial enterprises.

Dimensions

  • Length: 2.25 In
  • Width: 1.25 In
  • Height: 1 In
  • Weight: 0 lbs
https://partsfe.com/media/catalog/product/h/e/henny-penny-70046-hp-switch-hc900-hc94-4-54386-2.jpg
Manufacturer Name: Henny Penny
Product Number: 70046
OEM Part Number: 70046
Product Description: Hp Switch For Hc900-Hc94 4
Similar Models:NONE
Dimensions:
Length:2.25in/5.72cm
Width:1.25in/3.18cm
Height:1in/2.54cm
Weight:0lbs/0g

Choose the best Commercial kitchen & Restaurant equipment parts and supplies from PartsFe!

  • Same Day Shipping

  • Best Quality And Best Price

  • Wide Range of Inventory

  • Best Customer Service

Have More Questions or Need Help to Place The Order?
Reach us at 866-863-0907 or contact@partsfe.com

HENNY PENNY:
Write Your Own Review
You're reviewing:Henny Penny 70046 HP Switch HC900-HC94 4
Your Rating
Customer Questions
What maintenance is required for the Henny Penny 70046 Switch?

Regularly inspect the switch for secure mounting, intact wiring, and proper terminal connections. Keep the surrounding area clean and free from grease or moisture buildup. Periodically test switch responsiveness to ensure accurate operation. Always disconnect power before servicing to prevent electrical hazards.

What are common issues with the Henny Penny 70046 Switch?

  • Switch fails to activate when pressed.
  • Intermittent electrical contact causing inconsistent operation.
  • Loose or corroded terminals affecting conductivity.
  • Physical damage or internal contact failure over time.

We strive to provide our customers with a hassle-free and efficient shopping experience. Our shipping policy ensures the timely delivery of your orders and complete customer satisfaction. View More

We are committed to ensuring your complete satisfaction with every purchase. We understand that circumstances may arise where you must return a product or request a refund. If for any reason you are not satisfied, you may return the item(s) according to the terms outlined below. View More

This Payment Policy outlines the terms and conditions governing all payments made for products purchased through our website. By making a purchase, you agree to be bound by this Payment Policy. View More

Installation Steps

Step1: Disconnect fryer power at the breaker and allow components to cool.

Step2: Access the control panel and locate the faulty switch.

Step3: Label and remove wires from the old switch terminals.

Step4: Unscrew and remove the old switch from the panel.

Step5: Mount the new switch securely and reconnect wires correctly.

Step6: Restore power and test switch operation for proper response.