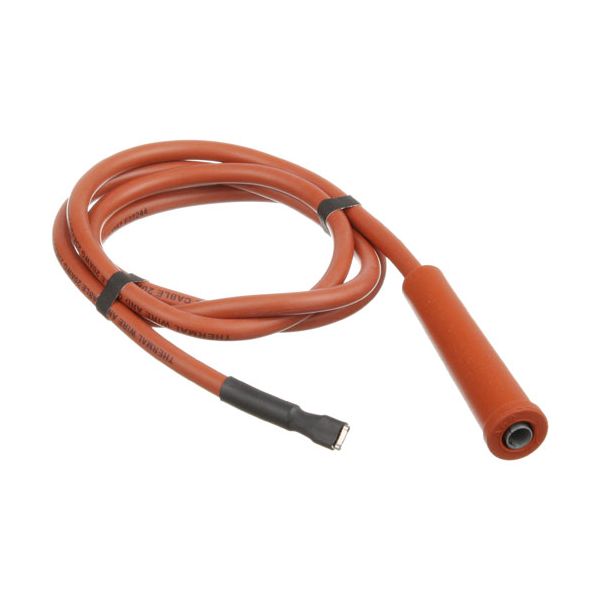
Garland 4523600 Oven Red Ignition Cable W/ Straight Boot 1/4" F Push On 45" Wire
Special Price $53.10 Regular Price $94.83
In stock
SKU
4523600
Manufacturer:

The Garland 4523600 Red Ignition Cable W/ Straight Boot Push On 45" Wire is used to transmit electrical current from the module to the spark electrode in compatible commercial appliances. It carries a controlled voltage through an insulated conductor that support spark generation at the assembly during each heating cycle. It connects to the electrode terminal, while the opposite 1/4" female push-on connector attaches to the source forming a continuous electrical pathway. This component is installed within the system wiring route positioned between the control module, and the burner area in commercial cooking equipment.
Dimensions
- Length: 4 In
- Width: 1 In
- Height: 4 In
- Weight: 0.1 lbs
Product Notes
- 45" Wire, Straight Spark Plug Boot X 1/4" F Push On
- Insulated Term, Red, For Electrode E662, F-315, # 441037
- Garland Oven Model Mco-Gs/Gd-10