Ultrafryer 18187 Ignition Cable W/ 90° Spark Plug Boot 27"

Special Price $32.00 Regular Price $57.15
In stock
SKU
18187
Oven Parts, Ignitors,
Manufacturer:
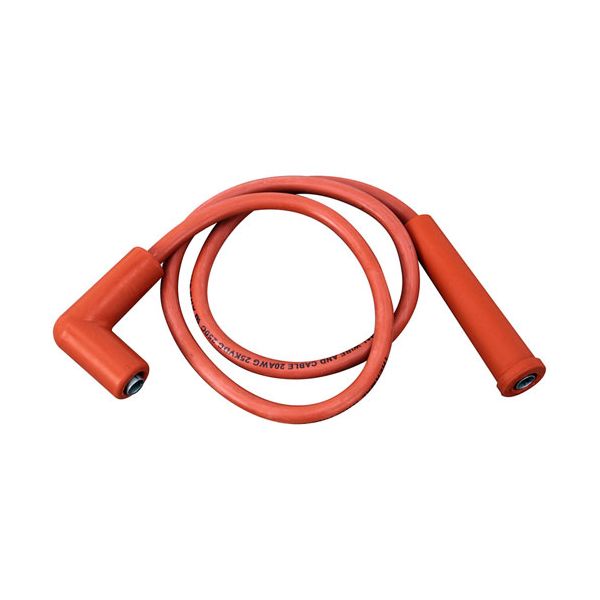
The Ultrafryer 18187 Ignition Cable is used in fryers to ensure that the fryers ignite as required for the better performance. It is 27 inches long and has a wire with a 90-degree spark plug boot at one end and a straight connection at the other. This cable is suitable for the Frymaster fryers BIH152, BIH252, H50, H55 and others, which are necessary for the proper functioning of the fryer. It provides a better electrical connection for the purpose of lighting the burner efficiently, thus avoiding frequent breakages and constant interruption of the kitchen activities.

Dimensions

  • Length: 4.5 In
  • Width: 1 In
  • Height: 4.5 In
  • Weight: 0.3 lbs
https://partsfe.com/media/catalog/product/u/l/ultrafryer-18187-ignition-cable-w-90-spark-plug-boot-27-44598-2.jpg

Product Notes

  • Ignition Cable, 27" Wire, 90 Deg Spark Plug Boot X Straight
  • Spark Plug Boot,
  • Frymaster Fryer Bih152, Bih252, Bih352, Bih452, Bih52,
  • Bih552, Biph252/255, Biph352/355, Biph452/455, Biph52/55,
  • Biph552, Fh150, Fmh50, Fph150, Fph50, Fpph355-Sc,
  • Fpph355Csd, Fpph455-Sc, H50, H55, Jbih252, Mh152, Mh252,
  • Mh352, Mh452, Mh52, Mh552, Mjh150, Mjh50, Mph152/155,
  • Mph252/255, Mph352/355, Mph452/455, Mph52/55, Ph155Csd
ULTRAFRYER:
-18187, 18187, ULTR18187
Write Your Own Review
You're reviewing:Ultrafryer 18187 Ignition Cable W/ 90° Spark Plug Boot 27"
Your Rating
Customer Questions
What maintenance is required for the Ultrafryer 18187 Ignition Cable?

Inspect the ignition cable regularly for cracks, damage, or corrosion. Clean any buildup on connectors to ensure proper spark transmission. Secure connections tightly and replace damaged cables promptly. Proper care ensures stable and accurate ignition.

What are the common issues with the Ultrafryer 18187 Ignition Cable?

  • No spark or intermittent ignition.
  • Cracked or frayed cable insulation.
  • Loose or corroded connectors.
  • Difficulty igniting burners consistently.

We strive to provide our customers with a hassle-free and efficient shopping experience. Our shipping policy ensures the timely delivery of your orders and complete customer satisfaction. View More

We are committed to ensuring your complete satisfaction with every purchase. We understand that circumstances may arise where you must return a product or request a refund. If for any reason you are not satisfied, you may return the item(s) according to the terms outlined below. View More

This Payment Policy outlines the terms and conditions governing all payments made for products purchased through our website. By making a purchase, you agree to be bound by this Payment Policy. View More

Installation Steps

Step1: Turn off the appliance power before starting the installation.

Step2: Locate the existing ignition cable connected to the igniter.

Step3: Disconnect the old cable carefully.

Step4: Route the new ignition cable along the same path.

Step5: Connect securely to the igniter and control module.

Step6: Ensure the cable is clear of heat or sharp edges.

Step7: Restore power and gas supply.

Step8: Test ignition for proper spark and operation.