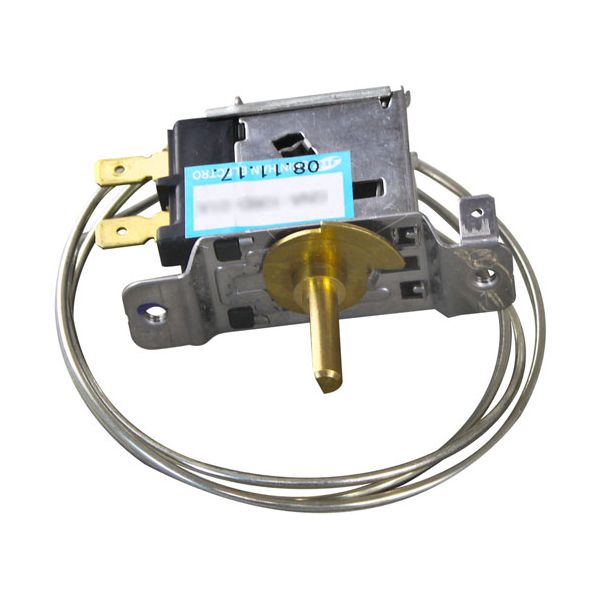
Ranco K55-Q5606 Temperature Control Thermostat 3°F-15°F

Special Price $186.02 Regular Price $262.74
Out of stock
SKU
K55-Q5606
Manufacturer:
The Ranco K55-Q5606 Temperature Control Thermostat exists to control temperatures precisely in refrigeration systems Turbo Air models STGM35, STGM48, and TGM-72RS. This Temperature Control Thermostat functions in three modes including Warm In 3°F - Out -9.5°F and Normal In -1°F - Out -13°F and Cold In -3°F - Out -15°F to maintain suitable preservation environments for different products. The thermostat enhances both energy efficiency and operational cost reduction through improved performance and reduces maintenance requirements and system downtimes. The product stands out because of its sturdy build and straightforward setup process which makes it a necessary tool for organizations that need precise temperature control systems

Dimensions

  • Length: 1.125 In
  • Width: 2.5 In
  • Height: 2.25 In
  • Weight: 0.1 lbs
https://partsfe.com/media/catalog/product/r/a/ranco-k55-q5606-temperature-control-thermostat-3-f-15-f-70312.jpg

Product Notes

  • Thermostat
  • Turbo Air For Model Stgm35/48/50, Tgm-69/72Rs
  • Warm: In 3F - Out -9.5F
  • Normal: In -1F - Out -13F
  • Cold: In -3F - Out -15F
Write Your Own Review
You're reviewing:Ranco K55-Q5606 Temperature Control Thermostat 3°F-15°F
Your Rating
Customer Questions
What maintenance is required for the Ranco K55-Q5606 Temperature Control Thermostat?

Inspect wiring connections regularly to ensure they are secure and free from corrosion. Clean the thermostat housing and sensing components to prevent dust buildup. Verify calibration periodically to maintain accurate temperature control and avoid performance drift in refrigeration.

What are common issues with the Ranco K55-Q5606 Temperature Control Thermostat?

  • Inaccurate temperature readings due to calibration drift.
  • Compressor not engaging or shutting off incorrectly.
  • Faulty wiring causing intermittent operation.
  • Sensor failure leading to constant running or no response.
  • Temperature fluctuation outside set range.
  • Contact wear causing inconsistent switching.

We strive to provide our customers with a hassle-free and efficient shopping experience. Our shipping policy ensures the timely delivery of your orders and complete customer satisfaction. View More

We are committed to ensuring your complete satisfaction with every purchase. We understand that circumstances may arise where you must return a product or request a refund. If for any reason you are not satisfied, you may return the item(s) according to the terms outlined below. View More

This Payment Policy outlines the terms and conditions governing all payments made for products purchased through our website. By making a purchase, you agree to be bound by this Payment Policy. View More

Installation Steps

Step1: Disconnect power supply and ensure the refrigeration unit is fully off.

Step2: Remove the old thermostat, labeling wires and noting capillary placement.

Step3: Install the new thermostat in the mounting bracket securely.

Step4: Route the sensing capillary to the original position without kinks.

Step5: Reconnect wiring to matching terminals as per configuration.

Step6: Restore power and test temperature cycling modes.

Step7: Damage insulated gloves and avoid damaging the capillary during handling.