

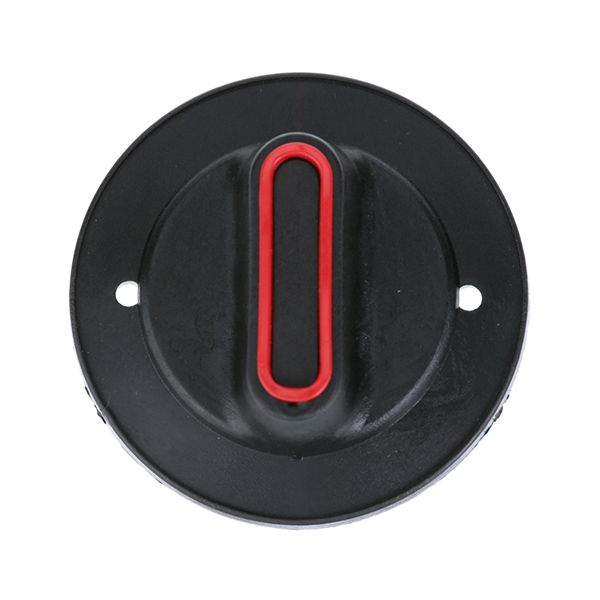
Cleveland SK2138700 Knob Assembly

Special Price $35.36 Regular Price $38.95
In stock
SKU
SK2138700
Manufacturer:

The Cleveland SK2138700 Knob Assembly used to control the settings of the appliances by rotating it to change the temperature or functionality, which interacts directly with the internal control system. It has a connection with the control shaft enabling it to be selected among the available settings. The assembly is attached to the front panel of the appliance, and it is placed in such a way that it fits into the marks of the indicators, which are easily controlled to adjust the operations during the use of the appliance.

Dimensions

  • Length: 6 In
  • Width: 3.5 In
  • Height: 1 In
  • Weight: 0.2 lbs
https://partsfe.com/media/catalog/product/c/l/cleveland-sk2138700-black-knob-dial-w-red-accent-2-3-8-dia-mount-187-position-up-down-70272.jpg

Product Notes

  • Black Knob W Red Accent
  • [ 2-3/8" Dia ] [Mount .187"] [Position U/D],
  • Insert 140 To 425 F Not Included, #A3599, # 221386
  • Used With:
  • Rotary Dial Shaft # 26-2990
  • 0.173" Flat Width, 0.25" Shaft Dia, 1.76" Oal, 0.080" Dia
  • Hole For Roll Pin # 26-2993
  • Groove For "E" Clip Retaining Ring # 26-2994
  • Cleveland Skillet
CLEVELAND:
2138700, CLE2138700, CLESK2138700, SK2138700
Write Your Own Review
You're reviewing:Cleveland SK2138700 Knob Assembly
Your Rating
Customer Questions
What maintenance is required for the Cleveland SK2138700 Knob Assembly?

Clean the knob regularly to prevent grease buildup and ensure smooth operation. Inspect for looseness or wear on the shaft connection. Tighten fittings and replace worn components promptly to maintain better, accurate temperature control.

What are common issues with the Cleveland SK2138700 Knob Assembly?

  • Knob becomes loose or stripped on shaft.
  • Difficulty adjusting heat due to internal wear.
  • Cracking or breakage from heat exposure or impact.
  • Wobbling during operation affecting control accuracy.
  • Misalignment causing inconsistent temperature settings.

We strive to provide our customers with a hassle-free and efficient shopping experience. Our shipping policy ensures the timely delivery of your orders and complete customer satisfaction. View More

We are committed to ensuring your complete satisfaction with every purchase. We understand that circumstances may arise where you must return a product or request a refund. If for any reason you are not satisfied, you may return the item(s) according to the terms outlined below. View More

This Payment Policy outlines the terms and conditions governing all payments made for products purchased through our website. By making a purchase, you agree to be bound by this Payment Policy. View More

Installation Steps

Step1: Turn off and cool the braising pan completely to avoid burns.

Step2: Remove the damaged knob by unscrewing it from the shaft.

Step3: Clean the exposed shaft to remove grease or debris.

Step4: Align the new knob assembly with the shaft properly.

Step5: Securely screw the knob clockwise until tight.

Step6: Test for smooth operation and ensure it is firmly attached before use.