

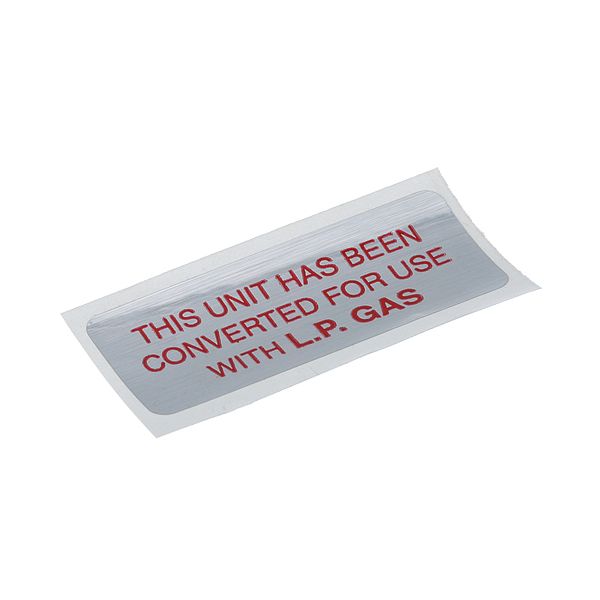
Vulcan Hart 00-421727-00009 Label Natural To Propane Gas

$1.14
In stock
SKU
00-421727-00009
The Vulcan Hart 00-421727-00009 Label Natural to Propane Gas is a system that converts natural gas into propane gas by changing the existing orifices and setting up the pressure. The process includes the de-installation of the old label, the new propane-specific parts, and ensuring that they are in place with the gas system of the appliance. The label should be placed directly on the appliance in the place where the existing gas identification is placed so that operators and service can see it.

Dimensions

  • Length: 2.75 In
  • Width: 1.25 In
  • Height: 0.25 In
  • Weight: 0.25 lbs
https://partsfe.com/media/catalog/product/v/u/vulcan-hart-00-421727-00009-label-lp-29149-2.jpg
Write Your Own Review
You're reviewing:Vulcan Hart 00-421727-00009 Label Natural To Propane Gas
Your Rating
Customer Questions
What maintenance is required for the Vulcan Hart 00-421727-00009 Label?

Keep the label surface clean and dry to ensure proper adhesion. Inspect regularly for peeling or fading and replace if damaged. Avoid exposure to harsh chemicals or high heat to prevent deterioration. Handle carefully during equipment cleaning.

What are common issues with the Vulcan Hart 00-421727-00009 Label?

  • Adhesive failure causing label peeling.
  • Fading or illegible print over time.
  • Misalignment during installation on panel surface.
  • Damage from excessive heat or cleaning chemicals.

We strive to provide our customers with a hassle-free and efficient shopping experience. Our shipping policy ensures the timely delivery of your orders and complete customer satisfaction. View More

We are committed to ensuring your complete satisfaction with every purchase. We understand that circumstances may arise where you must return a product or request a refund. If for any reason you are not satisfied, you may return the item(s) according to the terms outlined below. View More

This Payment Policy outlines the terms and conditions governing all payments made for products purchased through our website. By making a purchase, you agree to be bound by this Payment Policy. View More

Installation Steps

Step1: Turn off and cool the equipment before starting installation.

Step2: Clean the surface thoroughly to remove grease, dust, or residue.

Step3: Carefully peel the backing from the new label without touching the adhesive side.

Step4: Align the label in the correct place.

Step5: Press firmly from center outward to avoid air bubbles.

Step6: Ensure full adhesion and allow it to set before using equipment.
