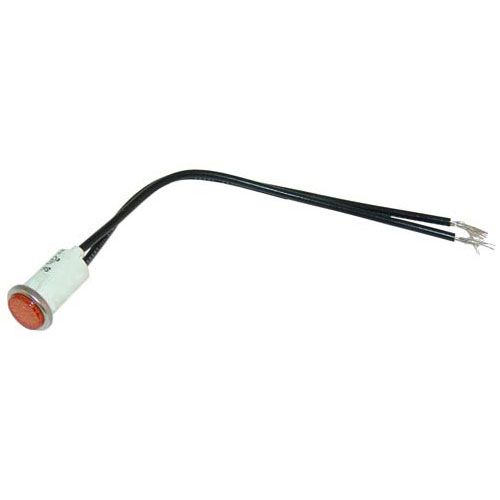
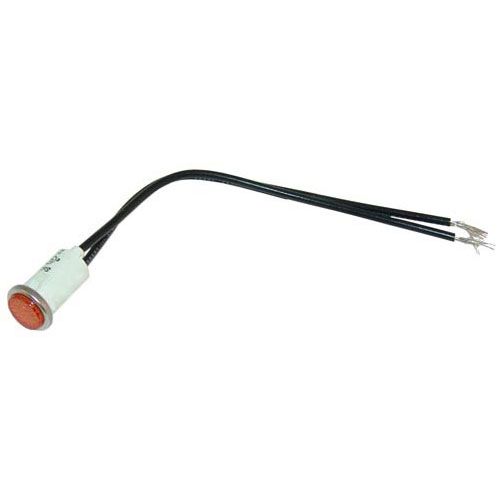
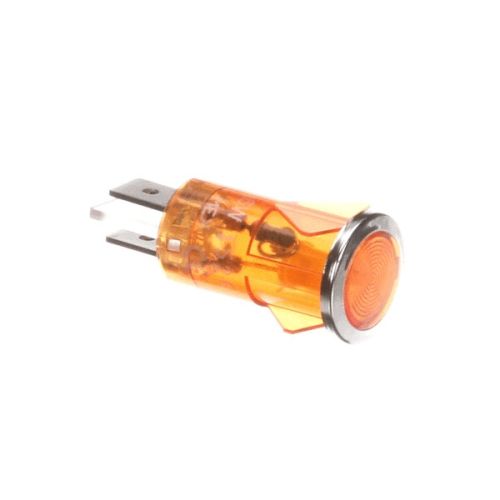
Lincoln 369128 Oven Pilot Indicator Light Neon 125V

Special Price $40.74 Regular Price $44.95
In stock
SKU
369128
Manufacturer:

The Lincoln 369128 Oven Pilot Indicator Light 125V uses neon lights to indicate that the pilot or heating circuit of the oven is on. It works by turning a neon bulb on when an electric current passes through the pilot circuit. The indicator is mounted on the control panel of the oven or close to the pilot assembly providing a clear visual indication of the status of the oven. It is designed in a small shape so it can be placed easily, and the operators can easily tell whether the oven is on or not.

Dimensions

  • Weight: 0.013 lbs
https://partsfe.com/media/catalog/product/0/0/0034739_0_1.jpg
Manufacturer Name: Lincoln
Product Number: 369128
OEM Part Number: 369128
Product Description: Neon Light For Pilot, 125V, 1/3W, 2Ea 1/4" Tab Terminals,;Lincoln Oven 1022 Thru 1029, 1202, 1203,1228, 1229, 1620;Thru 1629.
Similar Models:NONE
Dimensions:
Length:0.7in/1.78cm
Width:0.5in/1.27cm
Height:1.2in/3.05cm
Weight:0.01lbs/4.54g

Choose the best Commercial kitchen & Restaurant equipment parts and supplies from PartsFe!

  • Same Day Shipping

  • Best Quality And Best Price

  • Wide Range of Inventory

  • Best Customer Service

Have More Questions or Need Help to Place The Order?
Reach us at 866-863-0907 or contact@partsfe.com

Write Your Own Review
You're reviewing:Lincoln 369128 Oven Pilot Indicator Light Neon 125V
Your Rating
Customer Questions
What maintenance is required for the Lincoln 369128 Pilot Light?

Inspect the pilot light regularly for dimming, flickering, or damaged wiring connections. Keep the housing clean and free from dust or moisture buildup to maintain clear visibility and accurate signaling. Tighten loose terminals and verify proper voltage during inspections. Always disconnect power before servicing electrical components for safety.

What are common issues with the Lincoln 369128 Pilot Light?

  • Flickering or inconsistent neon illumination.
  • Burned-out indicator light preventing visibility.
  • Loose or corroded electrical terminals.
  • Cracked housing or lens damage.
  • Voltage irregularities causing intermittent operation.
  • Failure to light due to wiring connection problems.

We strive to provide our customers with a hassle-free and efficient shopping experience. Our shipping policy ensures the timely delivery of your orders and complete customer satisfaction. View More

We are committed to ensuring your complete satisfaction with every purchase. We understand that circumstances may arise where you must return a product or request a refund. If for any reason you are not satisfied, you may return the item(s) according to the terms outlined below. View More

This Payment Policy outlines the terms and conditions governing all payments made for products purchased through our website. By making a purchase, you agree to be bound by this Payment Policy. View More

Installation Steps

Step1: Disconnect power supply to avoid electrical shock.

Step2: Locate the existing pilot light panel or mounting position.

Step3: Remove the faulty pilot light using proper tools.

Step4: Insert the new pilot light into the panel opening.

Step5: Secure it firmly with retaining clips or nuts.

Step6: Connect wiring terminals as per original configuration.

Step7: Restore power and test for proper illumination.