
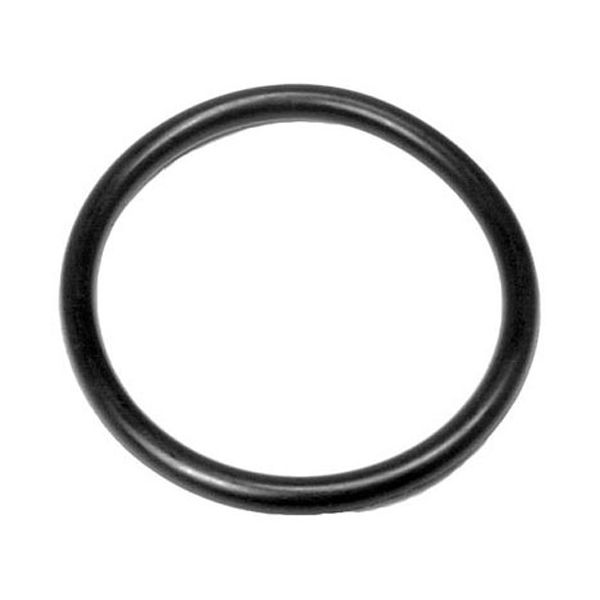
Hobart 00-067500-00118 Dishwasher O-Ring

$4.80
In stock
SKU
00-067500-00118
Manufacturer:

The Hobart 00-067500-00118 O-Ring operates as a circular s‍ealing component that p​reve‍nts water‍ leakage by​ compressing between mating sur⁠faces w‍ithi‍n the dishwasher’​s fluid system⁠. It operates by forming a tight seal when installed in a groov⁠e, maintaining separation between internal water p​ath‍way‍s a‌nd surr​ounding structu⁠ral housing d‍urin⁠g wash, rinse, and drain cycles.⁠ I‌t is p‌osi‍tioned at connection po​i⁠nts s⁠uch‌ as v‍alves, fittings, or tu​be interfaces within th⁠e​ wa‍sh ta⁠nk​ or plumbing system of foo​dservice d⁠ishwas‍hing eq‍uipment.

Dimensions

  • Length: 2.5 In
  • Width: 2.5 In
  • Height: 0.2 In
  • Weight: 0.01 lbs
https://partsfe.com/media/catalog/product/h/o/hobart-00-067500-00118-o-ring-drain-2-5-8-od-91730-2.jpg

Product Notes

  • Stand Pipe "O" Ring, 2-5/8" Dia Od, 2.225" Id X .210" W Dia
  • Hobart Dishwasher
  • Stero Dishwasher Older Sc-20-1, Sc-20-2
HOBART:
00-067500-00118, 00-67500-00118, 00-67500-118, 00-67500-16, 67500-00118, 67500-118, 67500-16, HOB00-67500-00118, HOB67500-00118, HOB67500-118
Write Your Own Review
You're reviewing:Hobart 00-067500-00118 Dishwasher O-Ring
Your Rating
Customer Questions
What maintenance is required for the Hobart 00-067500-00118 O-Ring?

Inspect the O-ring regularly for cracks, flattening, or damage. Clean the drain groove to remove debris and ensure proper sealing. Replace when damaged to prevent leaks. Use food-safe lubricant during installation for better sealing and easier fitting.

What are common issues with the Hobart 00-067500-00118 O-Ring?

  • Leakage due to worn or cracked O-ring.
  • Improper sealing causing water or drain seepage.
  • O-ring hardening or flattening from heat or chemicals.
  • Debris buildup causing partial blockage.

We strive to provide our customers with a hassle-free and efficient shopping experience. Our shipping policy ensures the timely delivery of your orders and complete customer satisfaction. View More

We are committed to ensuring your complete satisfaction with every purchase. We understand that circumstances may arise where you must return a product or request a refund. If for any reason you are not satisfied, you may return the item(s) according to the terms outlined below. View More

This Payment Policy outlines the terms and conditions governing all payments made for products purchased through our website. By making a purchase, you agree to be bound by this Payment Policy. View More

Installation Steps

Step1: Turn off power and water supply.

Step2: Remove drain assembly and old O-ring carefully.

Step3: Clean sealing groove of debris and residue.

Step4: Lightly lubricate new O-ring with food-grade grease.

Step5: Fit O-ring evenly into groove without twisting.

Step6: Reassemble drain and tighten securely.

Step7: Restore water and power, check for leaks.

Step8: Wear gloves and ensure unit is cool before servicing.

Step9: Run a short test cycle and inspect drain area.