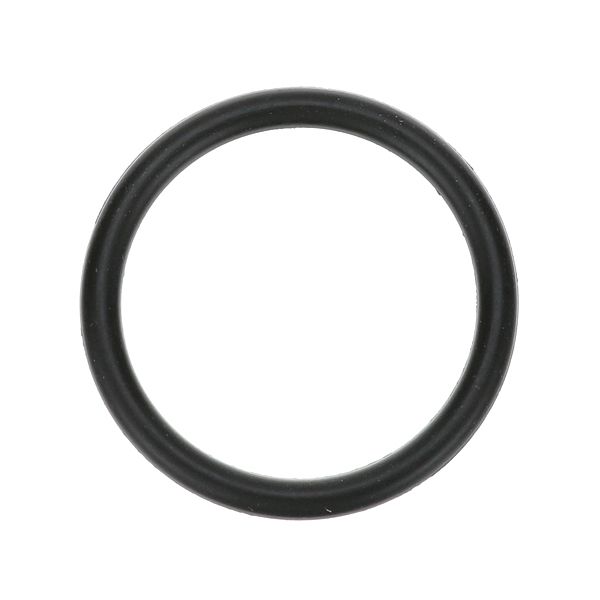
Electro Freeze HC159295 Freezer O-Ring 1-3/16"ID X 1/8"W

$0.08
In stock
SKU
HC159295
Plumbing Parts, O-Rings,
Manufacturer:
The Electro Freeze HC159295 Freezer O-Ring 1-3/16" ID X 1/8" W is a sealing part that is applied in commercial frozen, and beverage machines. It is fitted at specified points of connection to form a close seal between mating surfaces to assist in the prevention of leaks during operation. This O-ring is typically applied in soft-serve machines, slush freezers and such-like systems where the pressure and fluid containment are needed all the time. It promotes the flow of products and efficiency of the system by having a secure seal.

Dimensions

  • Length: 1.188 In
  • Width: 0.125 In
  • Height: 0.125 In
  • Weight: 0.01 lbs
https://partsfe.com/media/catalog/product/e/l/electro-freeze-hc159295-o-ring-1-3-16-id-x-1-8-width-44466.jpg

Product Notes

  • O-Ring, 3/16" Id X 1/8" Thick
  • Electrofreeze
ELECTRO FREEZE:
Write Your Own Review
You're reviewing:Electro Freeze HC159295 Freezer O-Ring 1-3/16"ID X 1/8"W
Your Rating
Customer Questions
What maintenance is required for the Electro Freeze HC159295 O-Ring?

Inspect the o-ring regularly for cracks, flattening, or wear and replace when damaged. Keep it clean and lightly lubricated with food-grade grease to maintain a proper seal. Ensure mating surfaces are free from debris to prevent leaks and pressure loss.

What are common issues with the Electro Freeze HC159295 O-Ring?

  • Hardening or cracking causing seal leakage.
  • Compression set leading to poor sealing.
  • Chemical swelling from incompatible refrigerants or cleaners.
  • Improper seating causing pressure loss or misalignment.

We strive to provide our customers with a hassle-free and efficient shopping experience. Our shipping policy ensures the timely delivery of your orders and complete customer satisfaction. View More

We are committed to ensuring your complete satisfaction with every purchase. We understand that circumstances may arise where you must return a product or request a refund. If for any reason you are not satisfied, you may return the item(s) according to the terms outlined below. View More

This Payment Policy outlines the terms and conditions governing all payments made for products purchased through our website. By making a purchase, you agree to be bound by this Payment Policy. View More

Installation Steps

Step1: Turn off and unplug the equipment.

Step2: Remove the old O-ring using a proper tool.

Step3: Clean the groove and surrounding area thoroughly.

Step4: Lightly lubricate the new O-ring with food-grade lubricant.

Step5: Fit the new O-ring evenly into the groove without twisting.

Step6: Reassemble parts, restore power, and check for leaks.