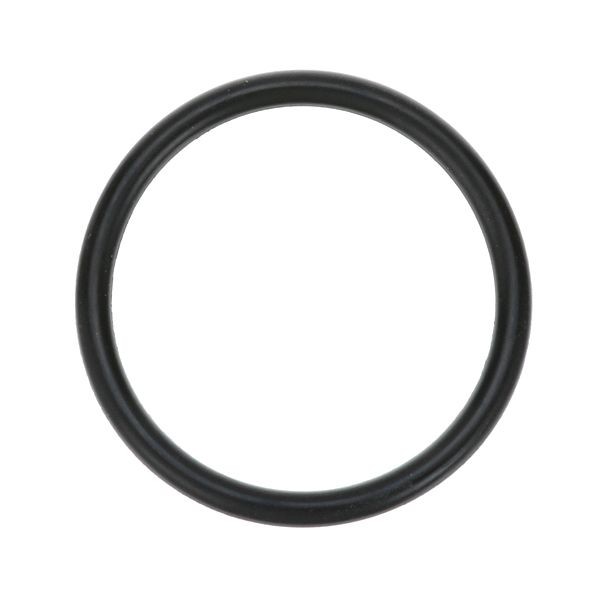
Henny Penny 16902 Fryer O-Ring Seal 1-7/16" ID X 1/8" Width

Special Price $4.14 Regular Price $4.60
In stock
SKU
16902
The Henny Penny 16902 Seal O-Ring 1-7/16" ID X 1/8" Width provides a seal between fryer parts to avoid leakage of oil or liquid in commercial frying equipment. It works by pressing between the mating surfaces, and has a tight barrier when it is in normal operation. . It is a vital element of the sealing system of the appliance that contributes to its safe functioning and adequate fluid containment. The O-ring is used to ensure the stability of the fryer and total equipment functionality in the regular use.

Dimensions

  • Length: 1.5 In
  • Width: 1.5 In
  • Height: 0.2 In
  • Weight: 0.01 lbs
https://partsfe.com/media/catalog/product/h/e/henny-penny-16902-o-ring-1-7-16-id-x-1-8-width-11718-2.jpg

Product Notes

  • O-Ring, 1.421" Id X .139" W
  • Henny Penny Cfa-500, Cfa-600, Pfe-500, Pfe-520,
  • Pfe-561, Pfe-580Kfc, Pfe-581, Pfe-590, Pfe-591, Pfe-592,
  • Pfe-600, Pfg-500, Pfg-561, Pfg-600, Pfg-680Kfc, Pfg-690,
  • Pfg-691
HENNY PENNY:
Write Your Own Review
You're reviewing:Henny Penny 16902 Fryer O-Ring Seal 1-7/16" ID X 1/8" Width
Your Rating
Customer Questions
What maintenance is required for the Henny Penny 16902 O-Ring?

Inspect the O-ring regularly for damage, flattening, or cracking to ensure a proper seal. Clean sealing surfaces during routine service to prevent debris buildup. Apply compatible lubricant to reduce friction and avoid premature deterioration. Replace immediately if leaks or deformation are observed.

What are common issues with the Henny Penny 16902 O-Ring?

  • Leakage caused by worn or compressed sealing surfaces.
  • Cracking or brittleness from heat or chemical exposure.
  • Improper seating leading to pressure loss or inconsistent sealing.
  • Swelling or degradation due to incompatible cleaning agents.

We strive to provide our customers with a hassle-free and efficient shopping experience. Our shipping policy ensures the timely delivery of your orders and complete customer satisfaction. View More

We are committed to ensuring your complete satisfaction with every purchase. We understand that circumstances may arise where you must return a product or request a refund. If for any reason you are not satisfied, you may return the item(s) according to the terms outlined below. View More

This Payment Policy outlines the terms and conditions governing all payments made for products purchased through our website. By making a purchase, you agree to be bound by this Payment Policy. View More

Installation Steps

Step1: Disconnect power and release pressure; ensure equipment is cool and clean.

Step2: Remove housing cover and carefully extract old O-ring without scratching groove.

Step3: Clean sealing groove, removing grease and debris.

Step4: Lightly lubricate new O-ring with food-grade lubricant and seat evenly into groove.

Step5: Reassemble components, tighten securely, and check for proper seal and leaks after restart.

Step6: Wear gloves and verify system is depressurized before servicing to avoid injury.