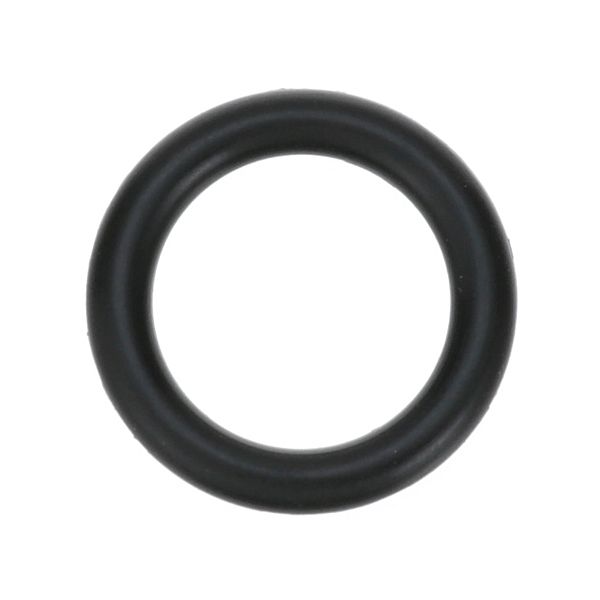
Henny Penny 16855 Fryer O-Ring Seal 5/8"ID X 1/8"W

$0.06
In stock
SKU
16855
Plumbing Parts, O-Rings,
Manufacturer:
O-Ring 5/8" Id X 1/8" Width

Dimensions

  • Length: 0.525 In
  • Width: 0.125 In
  • Height: 0.125 In
  • Weight: 0.01 lbs
https://partsfe.com/media/catalog/product/h/e/henny-penny-16855-o-ring-5-8-id-x-1-8-width-31212-2.jpg

Product Notes

  • O-Ring, 5/8" Id X 1/8"W
  • Henny Penny Cfa-500, Cfa-600, Henny Penny, Oe-100, Oe-301,
  • Oe-302, Oe-303, Oe-30X, Ofe-290, Ofe-291, Pfe-500, Pfe-520,
  • Pfe-561, Pfe-580Kfc, Pfe-581, Pfe-590, Pfe-591, Pfe-592,
  • Pfe-600, Pfg-500, Pfg-561, Pfg-600
HENNY PENNY:
Write Your Own Review
You're reviewing:Henny Penny 16855 Fryer O-Ring Seal 5/8"ID X 1/8"W
Your Rating
Customer Questions
What maintenance is required for the Henny Penny 16855 O-Ring?

Inspect the O-ring regularly for cracks, flattening, or hardening. Keep sealing surfaces clean to prevent debris damage. Apply food-safe lubricant to ensure proper sealing and reduce friction during operation.

What are common issues with the Henny Penny 16855 O-Ring?

  • Leakage from worn or flattened seal.
  • Cracking or hardening due to heat exposure.
  • Compression set leading to poor fit.
  • Improper sealing resulting in pressure loss.
  • Extrusion under high pressure conditions.

We strive to provide our customers with a hassle-free and efficient shopping experience. Our shipping policy ensures the timely delivery of your orders and complete customer satisfaction. View More

We are committed to ensuring your complete satisfaction with every purchase. We understand that circumstances may arise where you must return a product or request a refund. If for any reason you are not satisfied, you may return the item(s) according to the terms outlined below. View More

This Payment Policy outlines the terms and conditions governing all payments made for products purchased through our website. By making a purchase, you agree to be bound by this Payment Policy. View More

Installation Steps

Step1: Turn off and disconnect power or gas supply before servicing.

Step2: Release any pressure from the system to ensure safe disassembly.

Step3: Remove the component housing and carefully take out the old O-ring.

Step4: Clean the sealing groove thoroughly to remove grease, debris, or residue.

Step5: Lightly lubricate the new O-ring with food-grade lubricant.

Step6: Place the new O-ring evenly into the groove without twisting or stretching it.

Step7: Reassemble the unit, tighten securely, and check for leaks during startup.