

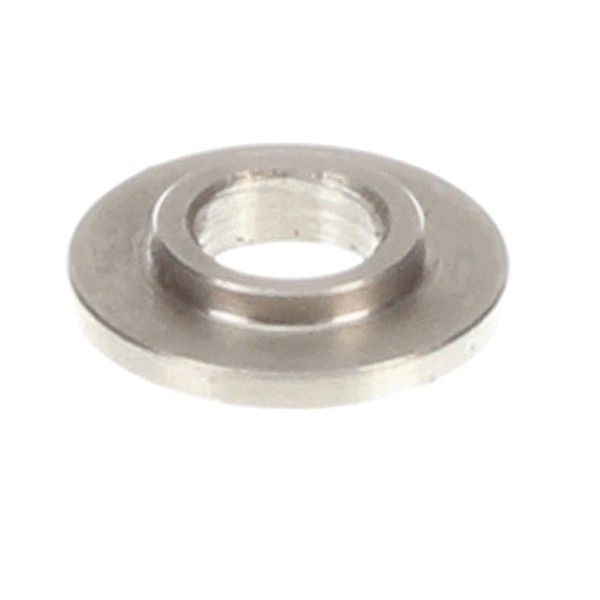
Perlick 67845-1 Bushing Disk Glass Rinser

$43.89
In stock
SKU
67845-1
Manufacturer:

The Perlick 67845-1 Bushing Disk directs water flow within a glass rinser and this enables glassware to be cleaned efficiently. It is installed within the rinser assembly, and it is aligned with the water inlet in order to form a controlled spray pattern. The bushing disk is fixed firmly in the rinser, so there is a distribution of water on the surface of the glass. The design assists in the rinsing process as it directs water in a uniform manner to enable effective cleaning with the proper alignment and flow in the glass rinser system.

Dimensions

  • Weight: 0 lbs
https://partsfe.com/media/catalog/product/6/7/67845-1-1.jpg

Product Notes

  • Type: Bushing Disk
PERLICK:
Write Your Own Review
You're reviewing:Perlick 67845-1 Bushing Disk Glass Rinser
Your Rating
Customer Questions
What maintenance is required for the Perlick 67845-1 Bushing Disk Glass Rinser?

Clean the bushing disk and rinser head to remove mineral deposits after use. Confirm smooth water spray distribution. Verify consistent rinsing action and secure seating of the component during repeated operation without leakage or uneven spray output.

What are common issues with the Perlick 67845-1 Bushing Disk Glass Rinser?

  • Spray pattern uneven.
  • Water flow reduced.
  • Rinser not activating properly.
  • Leakage around mounting point.
  • Cleaning action inconsistent.

We strive to provide our customers with a hassle-free and efficient shopping experience. Our shipping policy ensures the timely delivery of your orders and complete customer satisfaction. View More

We are committed to ensuring your complete satisfaction with every purchase. We understand that circumstances may arise where you must return a product or request a refund. If for any reason you are not satisfied, you may return the item(s) according to the terms outlined below. View More

This Payment Policy outlines the terms and conditions governing all payments made for products purchased through our website. By making a purchase, you agree to be bound by this Payment Policy. View More

Installation Steps

Step1: Turn off water supply and clear sink mounting area for safe installation.

Step2: Insert glass rinser into sink hole aligning gasket and mounting surface.

Step3: Secure underside nut and tighten firmly without over-tightening to avoid damage.

Step4: Connect water supply line ensuring proper sealing and no visible leaks.

Step5: Turn on water supply, test rinser spray, and confirm smooth operation safely.

Step6: Check for leaks and re-tighten if necessary.