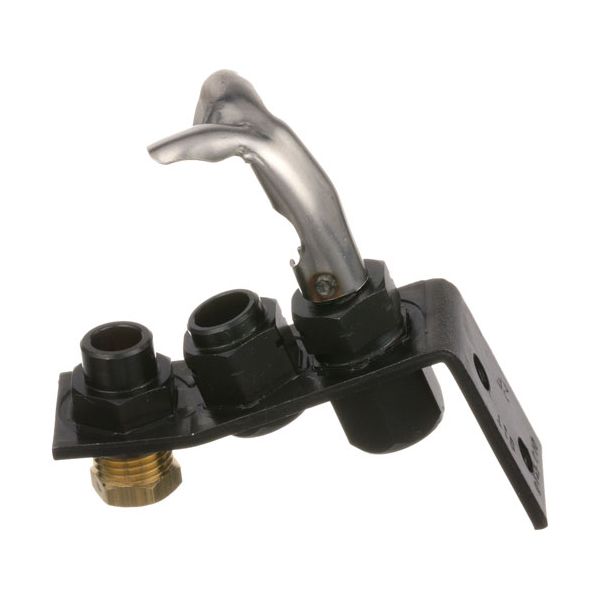
Garland 2200700 Griddle Pilot Assembly
Special Price $34.09 Regular Price $34.78
In stock
SKU
2200700
Manufacturer:

The Garland 2200700 Griddle Pilot Assembly heats the main burners and produces a small flame that lights up the gas when the control valve is switched to on. It is linked to the gas supply and must be firmly mounted in place to ensure contact between the flame and the burner orifice. The assembly is attached close to the burner to ignite directly. Its architecture is compatible with the current gas system, and it is placed inside the appliance without changing the neighboring parts. The design facilitates easy installation of the ignition flame.
Dimensions
- Length: 2 In
- Width: 2.5 In
- Height: 1 In
- Weight: 0.35 lbs
Product Notes
- Pilot Burner Only, No Orifice,
- Nat/Lp Pilot, Factory # , Tube Size 3/16",
- All Threads Are 3/16" Cct
- Flame Pattern Standard,
- No Longer Includes Olive Sleeve, If Needed, Can Use Pilot
- Assembly # 51-1286
- Garland
- Range Hot Top: Stw286.
- Series: Master Series Ovens, Griddles With Suffix
- Re/Rce~
- Mst4Se
- Griddle Series: Gd