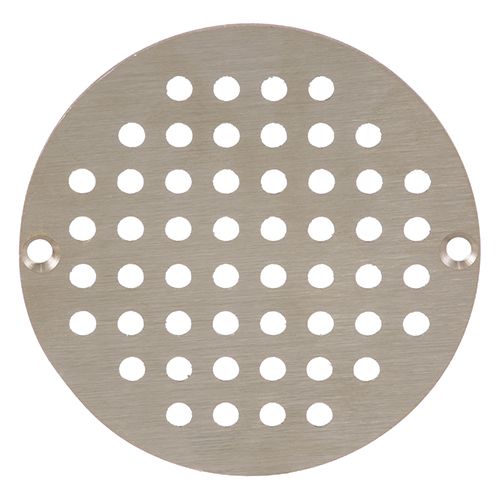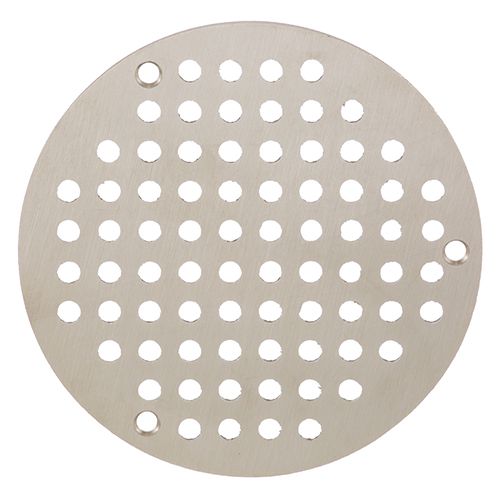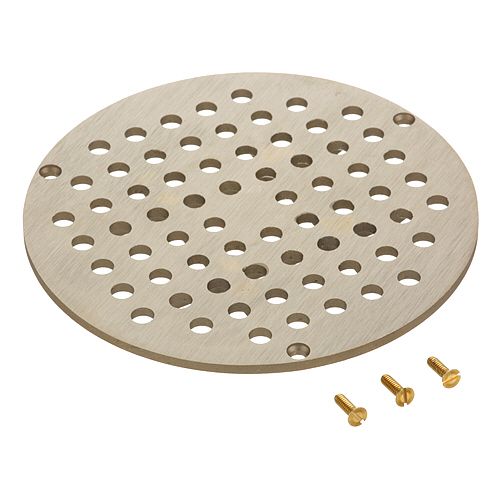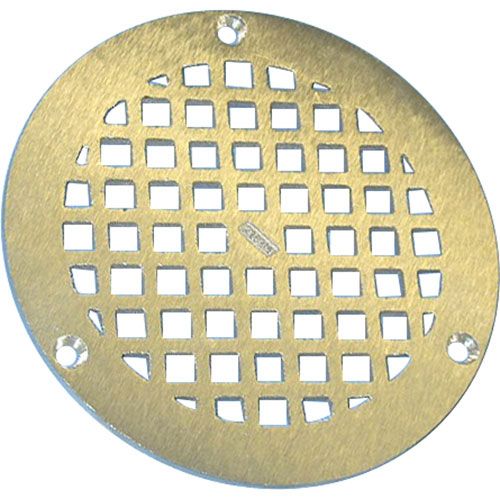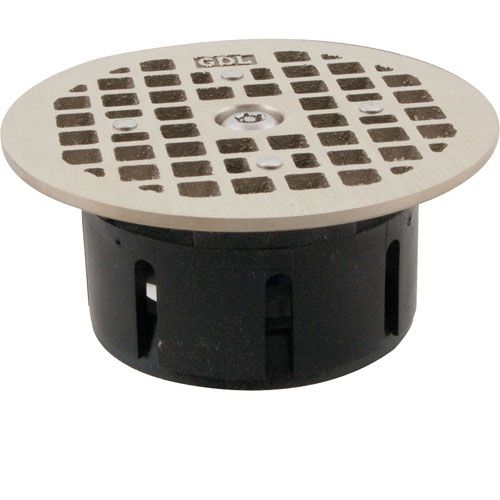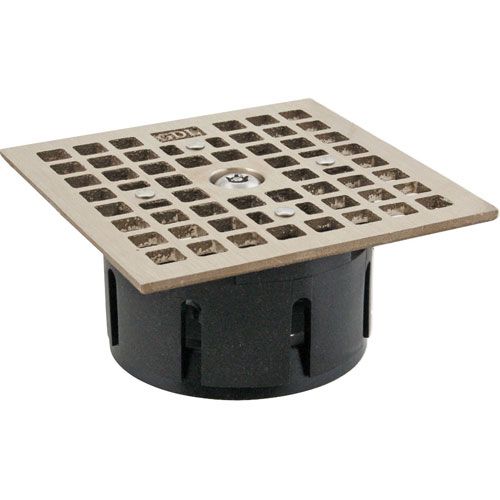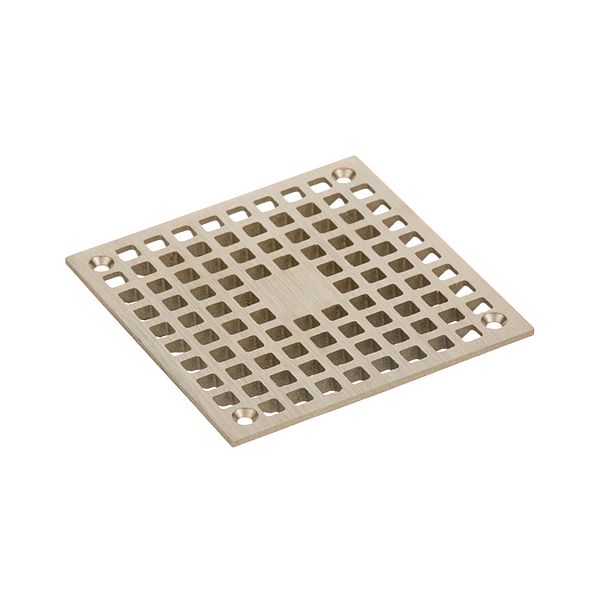
Zurn PN400-5S-GRID Floor Drain Grate 4-5/8"SQ
Dimensions
- Weight: 0.588 lbs
Drainage Operation:
Allows surface water to pass through the grid openings and into the underlying drain body. The arrangement of the openings provides distributed flow across the grate rather than concentrating liquid entry at a single point. Keeping the openings clear helps preserve the available drainage area and reduces restrictions caused by accumulated debris. The grate serves as both a drainage interface and a physical barrier between the floor surface and the drain opening.
Drain Opening Coverage:
Provides continuous coverage across the exposed drain opening while maintaining access for liquid movement. The square dimensions establish the physical footprint of the grate within the drain assembly. Proper seating helps distribute contact around the supporting area and reduces unwanted movement during normal use. A correctly positioned grate also helps maintain a consistent transition between the surrounding floor surface and the drain opening.
Replacement Guidelines:
Replace the Floor Drain Grate if it is cracked, broken, bent, deformed, corroded, or no longer fits securely in the drain opening. The part number PN400-5S-GRID and 4-5/8" × 4-5/8" square dimensions should be verified before replacement to ensure the correct floor drain grate is selected. Replace the grate if deterioration affects fit, drainage, surface support, or normal drain operation.
Common Failure Symptoms:
Equipment Compatibility:
The ZURN PN400-5S-GRID Floor Drain Grate should be matched with the applicable Zurn floor drain configuration before purchase. Verify part number PN400-5S-GRID against the existing grate and confirm the applicable drain model using the equipment parts diagram, manufacturer's documentation, or product specifications.
Technical Specifications:
Brand: Zurn
Part Number: PN400-5S-GRID
Product Name: Floor Drain Grate
Size: 4-5/8" x 4-5/8"
We strive to provide our customers with a hassle-free and efficient shopping experience. Our shipping policy ensures the timely delivery of your orders and complete customer satisfaction. View More
We are committed to ensuring your complete satisfaction with every purchase. We understand that circumstances may arise where you must return a product or request a refund. If for any reason you are not satisfied, you may return the item(s) according to the terms outlined below. View More
This Payment Policy outlines the terms and conditions governing all payments made for products purchased through our website. By making a purchase, you agree to be bound by this Payment Policy. View More
Step1: Turn off water supply and ensure the floor area is clear.
Step2: Remove any existing drain and clean the surrounding pipe opening.
Step3: Position the new floor drain into the pipe, ensuring it sits flush with the floor.
Step4: Secure the drain body with appropriate fasteners or adhesive as needed.
Step5: Place the grating on top and ensure it fits snugly.
Step6: Test drainage by running water and check for leaks or proper flow.