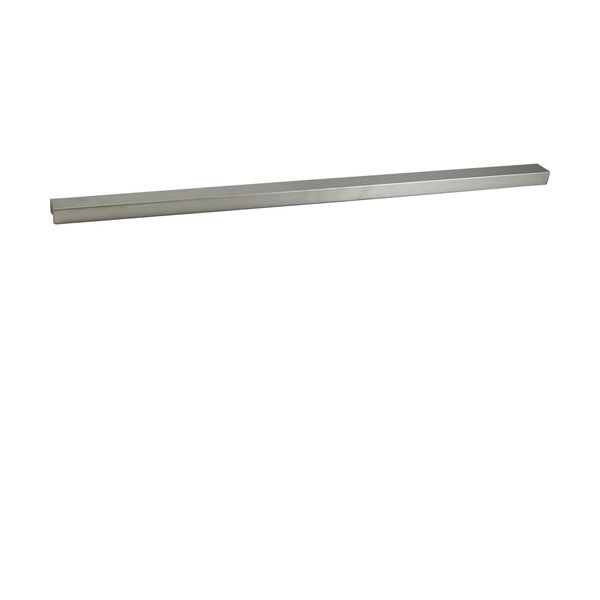
Pitco PTA1907902C Fryer Joining Strip 24-5/16" X 1-1/4" SS

Special Price $68.38 Regular Price $111.00
In stock
SKU
PTA1907902C
The Pitco PTA1907902C Fryer Joining Strip Stainless Steel 24-5/16" X 1-1/4" is used to join the cabinets to creates a continuous and aligned structure during the installation of equipment. It works by bridging the gap between the units and fixing them together using mounting points to ensure uniform spacing. This is fitted between adjacent cabinets at the junction of the outer panel. It will allow the correct positioning of several units and assist in ensuring consistency in positioning in commercial kitchen designs.

Dimensions

  • Length: 24.25 In
  • Width: 1.25 In
  • Height: 0.75 In
  • Weight: 0.7 lbs
https://partsfe.com/media/catalog/product/p/i/pitco-pta1907902c-stainless-steel-fryer-joining-strip-24-5-16-x-1-1-4-69230.jpg

Product Notes

  • Stainless Steel Joining Strip,
  • For Between Fryers
  • 24-5/16" X 1-1/4" S/S, 3/4" High
Write Your Own Review
You're reviewing:Pitco PTA1907902C Fryer Joining Strip 24-5/16" X 1-1/4" SS
Your Rating
Customer Questions
What maintenance is required for the Pitco PTA1907902C Joining Strip?

Clean the fryer joining strip regularly to remove grease, oil, and food residue that can affect sealing between fryer units. Inspect for bending, loosening, or corrosion that may compromise alignment. Ensure mounting hardware remains tight and secure during routine service. Proper maintenance assists in maintaining structural stability and prevents heat or oil leakage between connected fryers.

What are common issues with the Pitco PTA1907902C Joining Strip?

  • Loose fit causing separation between fryer units.
  • Bending or warping from heat exposure.
  • Grease buildup affecting proper sealing.
  • Corrosion or surface wear over time.
  • Misalignment during placed causing gaps.

We strive to provide our customers with a hassle-free and efficient shopping experience. Our shipping policy ensures the timely delivery of your orders and complete customer satisfaction. View More

We are committed to ensuring your complete satisfaction with every purchase. We understand that circumstances may arise where you must return a product or request a refund. If for any reason you are not satisfied, you may return the item(s) according to the terms outlined below. View More

This Payment Policy outlines the terms and conditions governing all payments made for products purchased through our website. By making a purchase, you agree to be bound by this Payment Policy. View More

Installation Steps

Step1: Turn off the equipment and ensure the area is safe to work on.

Step2: Remove any existing strip or covering from the joining surface.

Step3: Clean both surfaces to remove grease, dust, or debris.

Step4: Align the new joining strip along the seam or connection point.

Step5: Secure the strip evenly using the proper fasteners or adhesive.

Step6: Inspect the installation to ensure a tight, aligned, and stable fit.