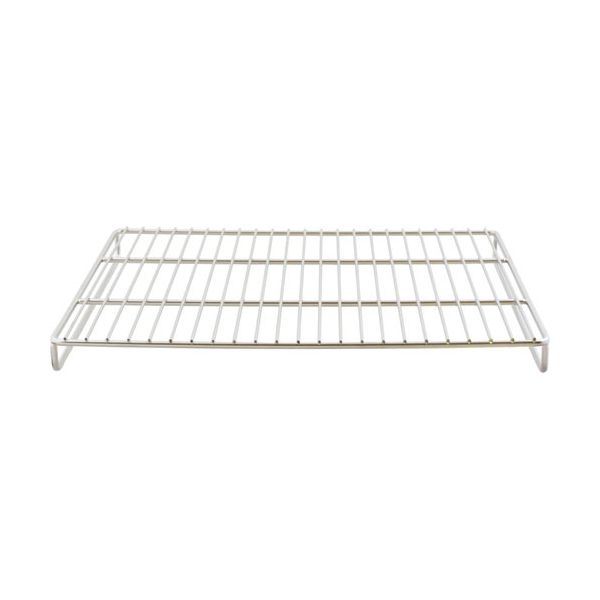
Pitco PTB4510101 Fryer Pasta Basket Rack 3-1/2" X 17-3/4"

Special Price $178.53 Regular Price $343.86
In stock
SKU
PTB4510101
The Pitco PTB4510101 Fryer Pasta Basket Rack is the unique utensils assists in making pasta easy to grab and drain. Measuring 3-1/2” x 17-3/4”, this stainless steel rack is for chefs to use to lift pasta directly from boiling water without the use of another colander. Its design makes it easy to cook food since it distributes heat evenly while its material makes it long lasting. Advantages include short cooking time as well as less clean up, and choice of cooking different forms of pasta at the same time, it is an invaluable asset to establishments that seek efficient work rates and quality in pasta meals.

Dimensions

  • Length: 6.991 In
  • Width: 5.115 In
  • Height: 0.589 In
  • Weight: 6.319 lbs
https://partsfe.com/media/catalog/product/p/i/pitco-ptb4510101-fryer-pasta-basket-rack-3-1-2-x-17-3-4-88409.jpg

Product Notes

  • Material: Stainless Steel
  • Length: 13-1/2"
  • Width: 17-3/4"
  • Depth: 1-1/2"
MAGIKITCH'N:
Write Your Own Review
You're reviewing:Pitco PTB4510101 Fryer Pasta Basket Rack 3-1/2" X 17-3/4"
Your Rating
Customer Questions
What maintenance is required for the Pitco PTB4510101 Basket Rack?

Clean the fryer rack after every use to remove starch, grease, and food residue buildup. Inspect for bent wires or corrosion that may affect basket stability. Dry thoroughly after washing to prevent rust and ensure better handling and consistent fryer performance.

What are common issues with the Pitco PTB4510101 Basket Rack?

  • Fryer warping or bending of metal frame under heat stress.
  • Rust formation due to poor drying or moisture exposure.
  • Food sticking from residue buildup on rack surface.
  • Loose or weakened joints affecting basket support.
  • Misalignment causing unstable basket placement in fryer.

We strive to provide our customers with a hassle-free and efficient shopping experience. Our shipping policy ensures the timely delivery of your orders and complete customer satisfaction. View More

We are committed to ensuring your complete satisfaction with every purchase. We understand that circumstances may arise where you must return a product or request a refund. If for any reason you are not satisfied, you may return the item(s) according to the terms outlined below. View More

This Payment Policy outlines the terms and conditions governing all payments made for products purchased through our website. By making a purchase, you agree to be bound by this Payment Policy. View More

Installation Steps

Step1: Ensure fryer is off, cool, and disconnected from power/gas.

Step2: Align rack mounting hooks with fryer tank supports.

Step3: Slide rack into position until firmly seated and stable.

Step4: Secure any clips or brackets per fryer design and test fit.

Step5: Verify clearance for baskets and ensure stability before use.

Step6: Reconnect power/gas and perform safety check before operation.

Step7: Do not overload baskets, monitor initial operation for proper fit.