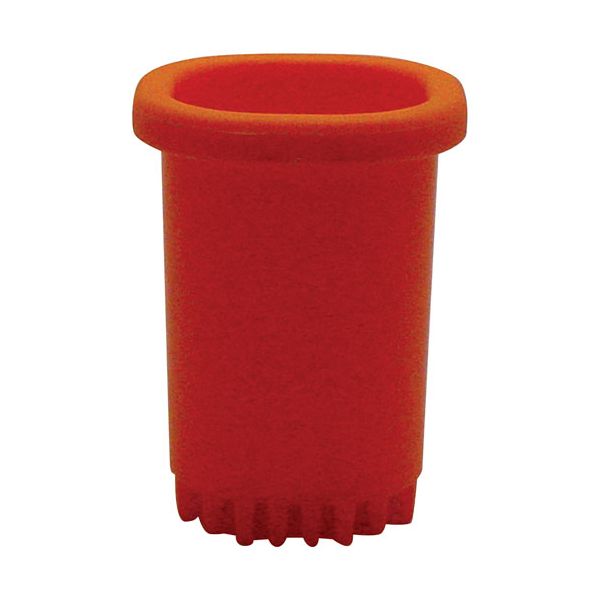
Dynamic Mixer 3510 Pusher 8.5mm

$38.53
In stock
SKU
3510
The Dynamic Mixer 3510 Pusher feeds the material through by directing the component to the mixing elements in an even manner as the unit runs. It operates by pushing at a steady speed such that the ingredients flow into the chamber one after another. This is fitted at the inlet of the assembly, whereby the incoming is directed into the auger. It is 8.5mm in size to fit in with the compatible parts and connects to drive or guide systems.

Dimensions

  • Weight: 0.391 lbs
https://partsfe.com/media/catalog/product/p/u/pusher-8-5mm-for-dynamic-mixer-part-3510-49412-2.jpg
Manufacturer Name: Dynamic Mixer
Product Number: 3510
OEM Part Number: 3510
Product Description: Dynamic Dynacube
Similar Models:NONE
Dimensions:
Length:5in/12.7cm
Width:4in/10.16cm
Height:4in/10.16cm
Weight:0.26lbs/117.93g

Choose the best Commercial kitchen & Restaurant equipment parts and supplies from PartsFe!

  • Same Day Shipping

  • Best Quality And Best Price

  • Wide Range of Inventory

  • Best Customer Service

Have More Questions or Need Help to Place The Order?
Reach us at 866-863-0907 or contact@partsfe.com

DYNAMIC:
-3510, 3510, DYN3510
Write Your Own Review
You're reviewing:Dynamic Mixer 3510 Pusher 8.5mm
Your Rating
Customer Questions
What maintenance is required for the Dynamic 3510 Pusher?

Clean the mixer pusher after each use to remove food residue and grease buildup. Inspect the 8.5mm component for wear or deformation. Ensure proper alignment during use and avoid excessive force to prevent damage.

What are common issues with the Dynamic 3510 Pusher?

  • Wear on pusher tip causing reduced efficiency.
  • Misalignment during operation leading to inconsistent processing.
  • Cracking or deformation from repeated pressure.
  • Food clogging or jamming during mixing operations.

We strive to provide our customers with a hassle-free and efficient shopping experience. Our shipping policy ensures the timely delivery of your orders and complete customer satisfaction. View More

We are committed to ensuring your complete satisfaction with every purchase. We understand that circumstances may arise where you must return a product or request a refund. If for any reason you are not satisfied, you may return the item(s) according to the terms outlined below. View More

This Payment Policy outlines the terms and conditions governing all payments made for products purchased through our website. By making a purchase, you agree to be bound by this Payment Policy. View More

Installation Steps

Step1: Ensure system is off, unplugged, and cooled.

Step2: Open cover and locate pusher slot carefully.

Step3: Remove old pusher if present gently.

Step4: Align new pusher with drive shaft.

Step5: Insert firmly until fully seated.

Step6: Test rotation manually before closing.

Step7: Close cover and power on securely.