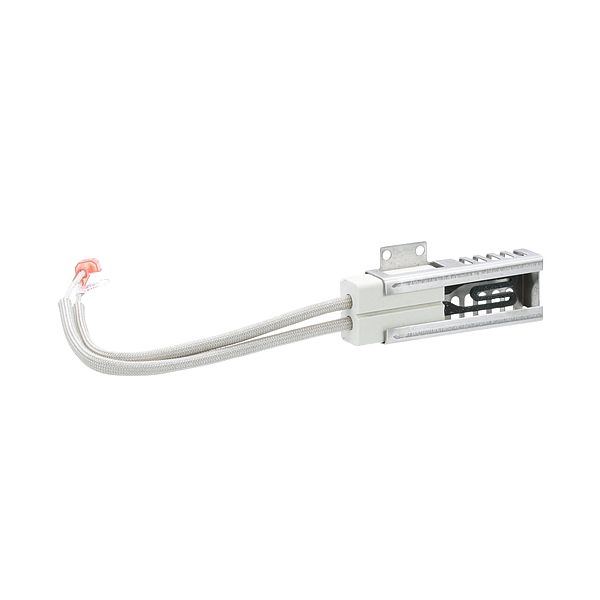
American Range R10011 Oven Ceramic Ignitor W/ 2-10" Leads & Male Disconnects

$117.70
In stock
SKU
R10011
Oven Parts, Ignitors,
Manufacturer:
The American Range R10011 Ceramic Ignitor is a oven replacement component which provides sustained dependable operation. The durable ceramic construction of this product includes two fully insulated 10-inch leads that have male disconnects to simplify installation. The ignitor provides efficient ignition performance for Range models AROFG-30, AROFSG-230, and AROFSHGE-230. This strong design structure provides safety benefits while extending oven longevity to support Highcooking performance. The oven system ignites heat consistently and functions more efficiently to deliver reliable performance for your complete cooking requirements.

Dimensions

  • Length: 6 In
  • Width: 2.5 In
  • Height: 2 In
  • Weight: 0.24 lbs
https://partsfe.com/media/catalog/product/a/m/american-range-r10011-oven-ceramic-ignitor-w-2-10-leads-male-disconnects-35114.jpg

Product Notes

  • Ignitor, Ceramic~
  • 1.44 Range Blc~
  • 2 Leads 10" Long With Male
  • Disconnects Fully Insulated.
  • Fits American Range Models~
  • Arofg-30, Arofsg-230, Arofshge-230
AMERICAN RANGE:
Write Your Own Review
You're reviewing:American Range R10011 Oven Ceramic Ignitor W/ 2-10" Leads & Male Disconnects
Your Rating
Customer Questions
What maintenance is required for the American Range R10011 Ignitor?

Inspect the ignitor regularly for cracks, chips, or carbon buildup that may affect ignition performance. Ensure proper alignment with the burner for proper flame ignition. Keep electrical connectors clean and tightly secured. Avoid touching the surface during handling to prevent damage and maintain consistent operation.

What are common issues with the American Range R10011 Ignitor?

  • Ignitor failing to glow or spark.
  • Delayed burner ignition.
  • Cracked or damaged body.
  • Loose or disconnected wiring leads.
  • Weak or inconsistent ignition signal.

We strive to provide our customers with a hassle-free and efficient shopping experience. Our shipping policy ensures the timely delivery of your orders and complete customer satisfaction. View More

We are committed to ensuring your complete satisfaction with every purchase. We understand that circumstances may arise where you must return a product or request a refund. If for any reason you are not satisfied, you may return the item(s) according to the terms outlined below. View More

This Payment Policy outlines the terms and conditions governing all payments made for products purchased through our website. By making a purchase, you agree to be bound by this Payment Policy. View More

Installation Steps

Step1: Turn off gas supply and disconnect electrical power; allow oven to cool completely.

Step2: Remove oven racks and access burner/ignitor assembly panel.

Step3: Disconnect old ignitor leads and remove mounting screws carefully.

Step4: Install new ceramic ignitor, securing it in original position without touching element.

Step5: Reconnect male disconnect leads firmly, ensuring correct polarity if applicable.

Step6: Restore power and gas, then test ignition cycle and check for proper flame.