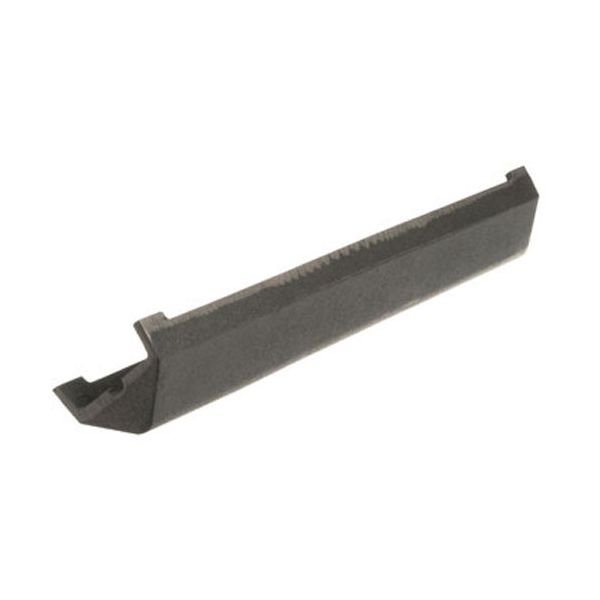
Montague 20531-1 Oven Cast Iron Radiant 20 3/4" X 3-1/2"W X 2-1/2" High & 1/4" Legs

Special Price $79.51 Regular Price $192.50
In stock
SKU
20531-1
The Montague 20531-1 Oven Cast Iron Radiant is designed for charbroilers in order to ensure that heat is spread evenly on the cooking surface. It has a dimension of 20 3/4” length, 3 ½” width, 2 ½” height, and has legs of ¼” thickness to ensure stability. This radiant is intended to be used in charbroilers, where it will effectively transfer heat. It operates by heating and then cooling the food at a constant rate, which helps in avoiding the formation of hot areas and shortening the cooking time.

Dimensions

  • Length: 21 In
  • Width: 3.5 In
  • Height: 2.5 In
  • Weight: 6.18 lbs
https://partsfe.com/media/catalog/product/m/o/montague-20531-1-oven-cast-iron-radiant-20-3-4-x-3-1-2-w-x-2-1-2-high-1-4-legs-37002-2.jpg

Product Notes

  • Cast Iron Radiant,
  • 20 3/4"± X 3-1/2"W± X 2-1/2"± High ] Has 1/4" Legs.
  • Montague Radiant Charbroiler
MONTAGUE:
-20531-1, 20531-1
Write Your Own Review
You're reviewing:Montague 20531-1 Oven Cast Iron Radiant 20 3/4" X 3-1/2"W X 2-1/2" High & 1/4" Legs
Your Rating
Customer Questions
What maintenance is required for the Montague 20531-1 Radiant?

Clean the radiant surface of grease and food debris. Inspect for cracks or warping, and ensure electrical connections are secure before powering the oven.

What are the common issues with the Montague 20531-1 Radiant?

  • Uneven heating or cold spots.
  • Cracks in the radiant element.
  • Loose terminals or connections.
  • Discoloration due to overheating.

We strive to provide our customers with a hassle-free and efficient shopping experience. Our shipping policy ensures the timely delivery of your orders and complete customer satisfaction. View More

We are committed to ensuring your complete satisfaction with every purchase. We understand that circumstances may arise where you must return a product or request a refund. If for any reason you are not satisfied, you may return the item(s) according to the terms outlined below. View More

This Payment Policy outlines the terms and conditions governing all payments made for products purchased through our website. By making a purchase, you agree to be bound by this Payment Policy. View More

Installation Steps

Step1: Ensure the oven is completely off and unplugged before starting.

Step2: Remove the old radiant carefully, wearing heat-resistant gloves.

Step3: Align the radiant with the mounting brackets inside the oven.

Step4: Secure it using the screws or clips provided, ensuring it sits flush.

Step5: Reconnect the oven power and test the radiant for proper heating.

Step6: Avoid touching the radiant while in use, allow it to cool completely before handling.