
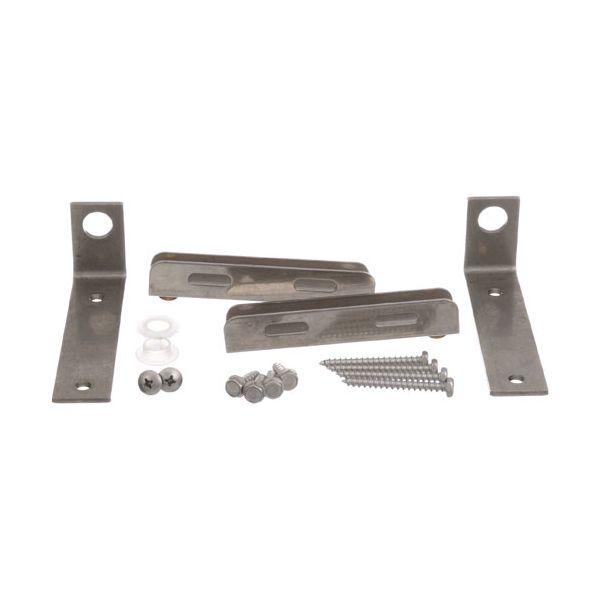
Randell RDRPHNG9900 Hinge Assembly

Special Price $115.89 Regular Price $196.42
In stock
SKU
RDRPHNG9900
Manufacturer:

The Randell RDRPHNG9900 Hinge Assembly allows the opening and closing of an attached door to be controlled by directing the movement of the latch on a fixed pivot point and keeping it aligned in the process. It is operated by joining the entrance panel to the cabinet frame, and it can be rotated by repetitive use cycles. This is mounted on the vertical side of the storage unit gates of compatible cooling or box units in mounting holes that fit with the frame.

Dimensions

  • Length: 5.25 In
  • Width: 0.375 In
  • Height: 2.125 In
  • Weight: 0.7 lbs
https://partsfe.com/media/catalog/product/r/a/randell-rdrphng9900-hinge-assembly-18482.jpg

Product Notes

  • Hinge Assembly
  • Randell 2-2020F01, 8148N, 8260N, 8268N, 8383N, 8395, 8395N,
  • 84111N
Write Your Own Review
You're reviewing:Randell RDRPHNG9900 Hinge Assembly
Your Rating
Customer Questions
What maintenance is required for the Randell RDRPHNG9900 Hinge Assembly?

Inspect hinge for damage, loose fasteners, and corrosion regularly and tighten if needed. Clean to remove grease, dirt, and debris that may affect movement. Lubricate moving components to ensure smooth operation and reduce friction. Check alignment of the door periodically to prevent stress on the hinge and uneven performance.

What are common issues with the Randell RDRPHNG9900 Hinge Assembly?

  • Loose hinge joints causing door sag or instability.
  • Misalignment leading to improper closing or uneven gaps.
  • Stiff or restricted movement due to damage or debris buildup.
  • Squeaking noises during operation from friction or lack of lubrication.

We strive to provide our customers with a hassle-free and efficient shopping experience. Our shipping policy ensures the timely delivery of your orders and complete customer satisfaction. View More

We are committed to ensuring your complete satisfaction with every purchase. We understand that circumstances may arise where you must return a product or request a refund. If for any reason you are not satisfied, you may return the item(s) according to the terms outlined below. View More

This Payment Policy outlines the terms and conditions governing all payments made for products purchased through our website. By making a purchase, you agree to be bound by this Payment Policy. View More

Installation Steps

Step1: Disconnect power and support door to prevent movement.

Step2: Align hinge assembly with mounting points on frame and door.

Step3: Insert and loosely secure screws to hold position.

Step4: Adjust alignment for smooth door swing, then tighten all fasteners evenly.

Step5: Test operation, check for binding, and ensure fingers are clear of pinch points.

Step6: Recheck screw torque after first use cycle.

Step7: Keep area clear during operation.